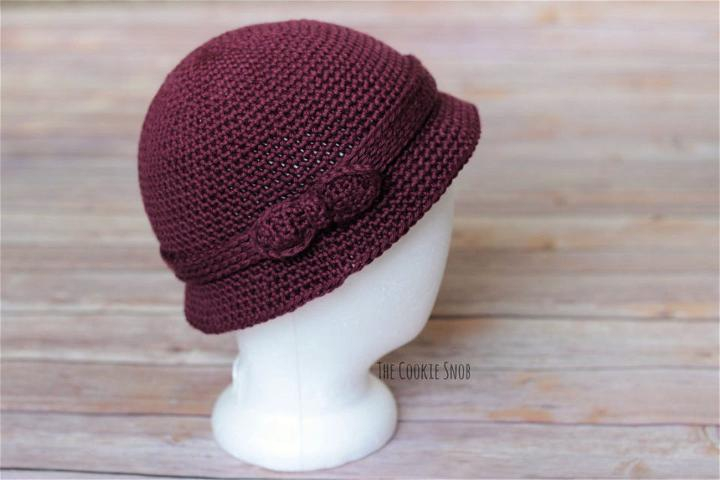
Most crochet enthusiasts are always on the lookout for free patterns that not only challenge their skills but also produce stunning results. The Sully Crochet Hat Pattern is an excellent choice for you, as it combines style and warmth in a beautifully textured design. Whether you’re a seasoned crocheter or just starting out, this pattern is straightforward, allowing you to create a cozy hat that can enhance your wardrobe or serve as a thoughtful gift. Dive into this free pattern and add a lovely accessory to your collection!
Materials Needed
A well-prepared list of materials is vital to successfully create your Sully crochet hat. To begin, you will need the right yarn, a suitable crochet hook, scissors, a yarn needle, and a measuring tape. Each of these items plays a vital role in crafting your hat, ensuring that you achieve the perfect fit and texture. Gather these materials before you begin so that you can focus on enjoying the crochet process!
Yarn Selection
Selection of the correct yarn is integral to achieving the desired look and feel of your Sully crochet hat. Opt for a medium-weight yarn, typically categorized as worsted weight, which provides warmth and comfort. Choose a soft, durable, and easy to care for yarn to enhance the final product. Popular options include acrylic blends or cotton yarn that offer a balance of flexibility and sturdiness for everyday wear.
Crochet Hook Size
Selection of the right crochet hook size is vital for consistency in your stitches and the overall structure of your hat. Using a hook size of 5.5 mm (I-9) typically works well with worsted weight yarn. This size allows for the right tension, ensuring your hat isn’t too tight or too loose. Make sure to check your gauge regularly as you crochet, as this ensures that your finished product matches the intended size.
Another important consideration is the material of your crochet hook. Metal hooks often allow for smooth stitching, while wooden or bamboo hooks may provide a better grip, preventing yarn from slipping. You should also note that different yarns may behave differently with varying hook materials, potentially impacting your results. Staying attentive to these factors will greatly enhance your crochet experience and the quality of your Sully hat.
Sizing Options
There’s a range of sizing options available for the Sully Crochet Hat, making it suitable for everyone from toddlers to adults. By following the provided measurements and instructions, you can easily create a perfectly fitting hat for yourself or your loved ones.
Adult Sizes
Beside the child sizes, you will find various adult size options to ensure a comfortable and stylish fit. The adult versions come in large, medium, and small, making it easy for you to choose the right size for the intended wearer.
Child Sizes
A variety of child sizes are included in this pattern, accommodating different age groups and head circumferences. The sizes range from toddlers to older children, ensuring a snug fit without compromising comfort. You can adjust the pattern slightly for growth, and it’s always a good idea to measure your child’s head circumference to achieve the best results. This way, you’ll create a hat that they can wear for more than just one season, providing both warmth and style.
Crochet Stitches Used
One of the key elements in creating the Sully Crochet Hat is mastering a variety of crochet stitches. You can find a great guide to imperative stitches in this Monsters Inc. Sulley Inspired Baby Hat pattern. These stitches will not only help you replicate the delightful features of Sully but also enhance your overall crochet skills.
Basic Stitches
Any crocheter should start with imperative stitches such as the chain stitch, single crochet, and double crochet. These stitches form the foundation of your project, allowing you to build textures and shapes effectively.
Advanced Techniques
Basic stitches provide a solid foundation, but to elevate your project, you may want to incorporate some advanced techniques. These techniques add depth and flair to your hat design.
| Techniques | Description |
| Color Changing | Switch colors mid-row for unique patterns. |
| Working in the Round | Creates seamless hats without joining. |
| Texture Stitches | Adds visual interest through raised stitches. |
By incorporating these advanced techniques, you will not only enhance the aesthetic of your Sully hat but also challenge and improve your crochet skills. Follow these steps for a rewarding crafting experience:
- Practice color changes to achieve Sully’s vibrant appearance.
- Use the round method for smooth and professional-looking edges.
- Add texture that attracts attention and enhances the design.
Step-by-Step Instructions
To create your Sully Crochet Hat, follow these step-by-step instructions that guide you through each phase of the process. You’ll find everything you need to craft this stylish hat efficiently. Below is a structured table for easy reference:
| Step | Description |
| 1 | Create the Foundation Chain |
| 2 | Work the Body of the Hat |
| 3 | Add Finishing Touches |
Creating the Foundation Chain
Foundation chains are the starting point of your project. You will begin by making a chain that sets the dimension for your hat. Ensure that your chain is of the appropriate length to fit your head size. Use a comfortable tension to avoid your hat from being too tight or loose.
Working the Body of the Hat
One of the most exciting parts of this project is working the body of the hat. After you’ve created your foundation chain, you will build upon it with your chosen stitch pattern. This is where you can express your creativity by incorporating colors and stitch variations.
Chain stitches help establish the base and provide stability as you proceed with your chosen stitches. Pay close attention to your stitch count to ensure the hat remains the correct size. You can also experiment with different crochet techniques to enhance the design and texture.
Finishing Touches
Among the last steps in your hat-making journey are the finishing touches. This includes weaving in any loose ends and adding embellishments if desired. These details will elevate your hat’s appeal and give it a polished look.
Working on these final touches allows you to add your personal flair, whether it’s a fun pom-pom or an intricate border. Make sure everything is secured well to extend the life of your Sully hat for many seasons to come.
Variations and Customizations
Once again, you have the opportunity to personalize the Sully Crochet Hat to suit your style and preferences. Whether you prefer a bolder statement or a subtler look, making variations or customizations can elevate your finished hat. From changes in the color palette to experimenting with different stitches, the possibilities are endless. Don’t hesitate to let your creativity shine through as you adjust the pattern for a unique creation that reflects your personality.
Adding Color
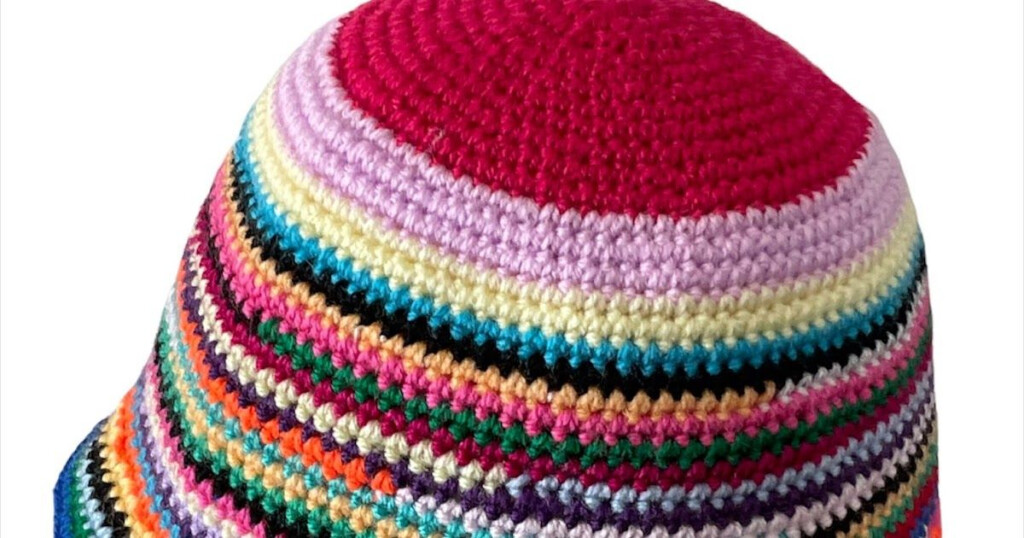
For a vibrant look, consider incorporating multiple colors into your Sully Crochet Hat. You can create stripes, use a gradient effect, or employ the ombré technique to blend colors seamlessly. This not only adds personality but also allows you to match your hat with your favorite winter outfits. Play around with color combinations until you find the perfect mix that suits your style.
Incorporating Texture
Texture in your crochet hat can significantly enhance its visual appeal and comfort. You might choose to incorporate stitches like bobble, shell, or front post techniques to create dimension. By introducing these elements, you will create depth that not only looks inviting but also adds warmth—all while making your Sully Hat truly one-of-a-kind. Additionally, varying the yarn thickness can also contribute to an appealing texture, so don’t hesitate to experiment. Your hat can become a conversation starter, showcasing your attention to detail and craftsmanship.
Care and Maintenance
For your Sully crochet hat to retain its charm and longevity, proper care and maintenance are vital. Regularly checking for signs of wear will help ensure that your favorite accessory stays in top condition for years to come.
Washing Instructions
Care for your Sully crochet hat by washing it gently. Hand wash in cold water with mild detergent, or use the delicate cycle in your washer. Avoid twisting or wringing your hat; instead, lay it flat to dry, protecting its shape while removing any excess water.
Storage Tips
Below are some effective storage tips to keep your Sully crochet hat looking fresh:
- Avoid folding the hat to prevent creases; instead, store it in a breathable bag.
- Keep it in a cool, dry place away from direct sunlight to preserve color.
- Consider using a hat box to maintain its shape and protect it from dust.
Perceiving these practices will aid in prolonging the life of your cherished crochet hat.
With these simple storage tips, you can ensure your Sully crochet hat remains in excellent condition:
- Rotate wearing your hats to avoid excessive wear on one piece.
- Ensure no heavy items are placed on top of your hat to maintain its structure.
- Conduct periodic checks for pests and moths that can damage the yarn.
Perceiving these methods will help you keep your hat in good shape, ensuring it remains a beloved accessory for seasons to come.
To wrap up
Taking this into account, the Sully Crochet Hat Pattern Free offers a delightful project for both beginners and experienced crafters alike. By following this pattern, you can create an adorable hat that showcases your skill and creativity. With the right materials and some patience, you’ll have a charming accessory that not only keeps you warm but also adds a playful touch to your wardrobe. Enjoy the process of making your own Sully hat, and don’t hesitate to make it your own by experimenting with colors and textures!
Download Sully Crochet Hat Pattern Free
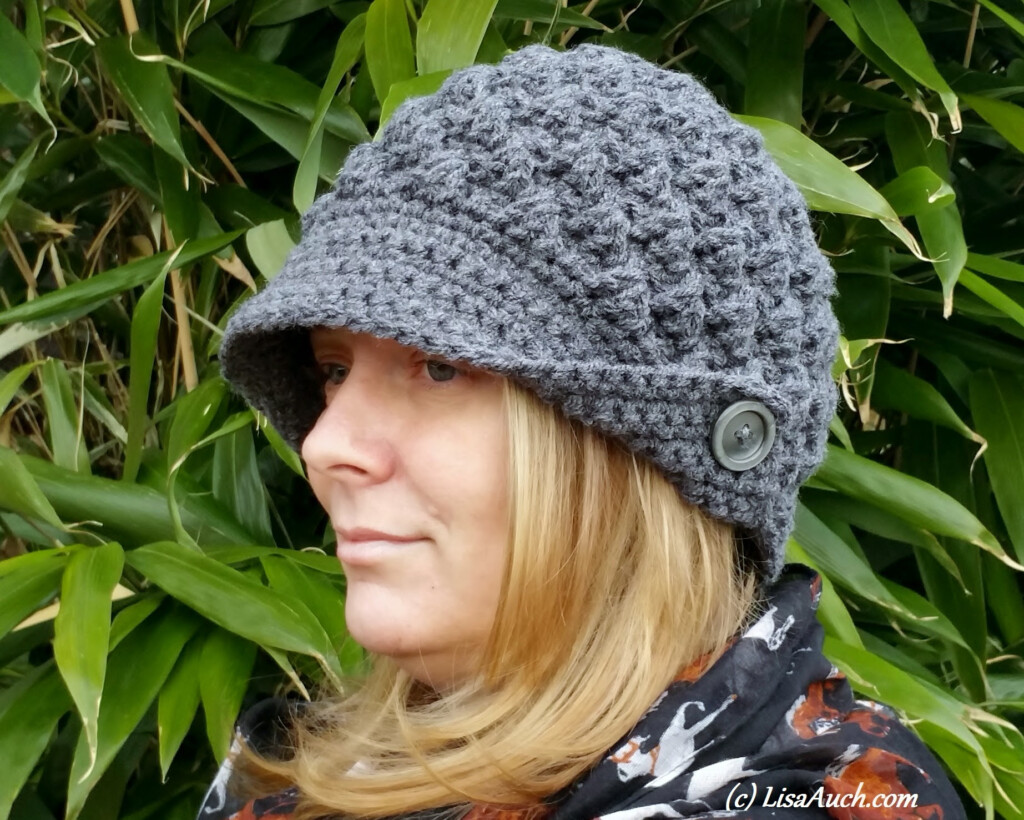
To get Sully Crochet Hat Pattern Free ideas and stuff, check out the gallery of them below: