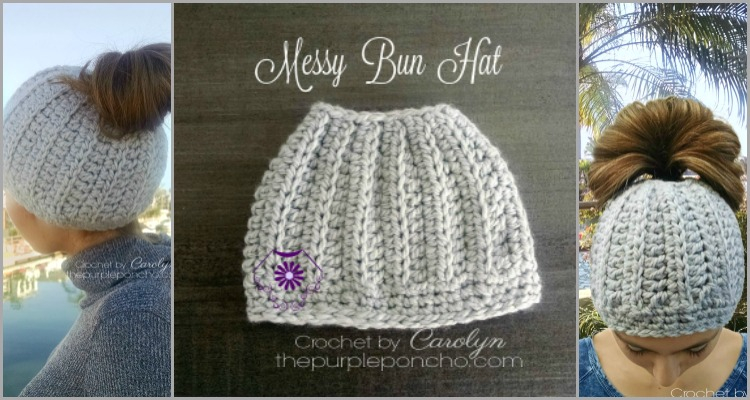
Many crochet enthusiasts and beginners alike are discovering the joy of creating the versatile and stylish Messy Bun Hat. This trendy accessory allows you to keep your hair up and out of your face while staying warm and fashionable during the colder months. In this post, you’ll find a free pattern that is easy to follow, making it perfect for all skill levels. With just a few supplies and some basic crochet techniques, you can create your own cozy masterpiece that showcases your unique style.
Materials Needed
Before you start creating your stylish messy bun hat, gather all the necessary materials to ensure a smooth crocheting experience. You will need yarn, a crochet hook, scissors, a yarn needle, and a measuring tape. By having everything ready, you’ll save time and enjoy the process of making your beautiful hat.
Yarn Selection
Above all, choose a yarn that balances softness and durability. Opt for medium-weight yarn, as it provides the right flexibility and warmth for your messy bun hat. Popular choices include acrylic, cotton, or blends that offer comfort and ease of washing, ensuring your hat remains fresh and stylish.
Crochet Hooks and Accessories
Above all, you’ll need a crochet hook that matches your yarn weight, typically a size I-9 (5.5 mm) for medium-weight yarn. Additionally, have some accessories on hand, such as scissors for cutting yarn, a yarn needle for weaving in ends, and a measuring tape to confirm the size of your hat as you work.
Hence, selecting the right crochet hook is important for achieving your desired tension and stitch definition. You should choose a hook that feels comfortable in your hand to minimize strain while you work. Stay attentive to the hook’s material: metal hooks glide easily but can be slippery, while ergonomic hooks provide better grip. Furthermore, investing in quality scissors and a sturdy yarn needle simplifies your finishing touches, ensuring a polished and professional look for your messy bun hat. Ultimately, the right tools enhance your crochet experience, making it enjoyable and productive.
Choosing the Right Size
One of the key factors in creating a perfect messy bun hat is selecting the appropriate size. The right size ensures that the hat not only fits snugly but also allows room for your bun to sit comfortably on top. By paying attention to size, you can enhance both the functionality and style of your crochet project.
Measuring Head Circumference
Before you begin your crochet hat, it’s imperative to measure your head circumference. Use a flexible measuring tape and wrap it lightly around the widest part of your head, usually just above your eyebrows and around the back. This measurement will guide you in determining the best size for your hat.
Adjusting the Pattern for Fit
For the perfect fit, you may need to adjust the pattern according to your measurements. If your head circumference is larger or smaller than the standard measurements provided in the pattern, you can easily modify the number of starting chains or the number of rows to achieve a comfortable fit.
Also, adjusting the pattern can be done by considering the yarn type and stitch tension. A thicker yarn will yield a more snug fit, while a looser tension can lead to a slouchier look. You should experiment with different sizes and stitches to find what works best for your head shape and style. Keep in mind, making small adjustments to both the width and length of the hat is perfectly acceptable, as it can greatly enhance your overall satisfaction with the finished product.
Step-by-Step Crochet Instructions
The following table breaks down the necessary steps you’ll follow to create your messy bun hat. Pay close attention to each phase as you craft your unique design.
| Steps | Instructions |
|---|---|
| 1 | Gather your materials and choose your yarn color. |
| 2 | Create a slip knot and begin the foundation row. |
| 3 | Work in rounds, following the pattern. |
| 4 | Finish with the messy bun opening. |
Starting the Base
One of the first tasks you’ll undertake is creating the base of your messy bun hat. Start by chaining a specific number of stitches, which will determine the width of your hat. Next, work single crochet stitches into each chain, ensuring your row remains even. This foundation sets the stage for a snug fit that you’ll build upon in subsequent rows.
Creating the Messy Bun Opening
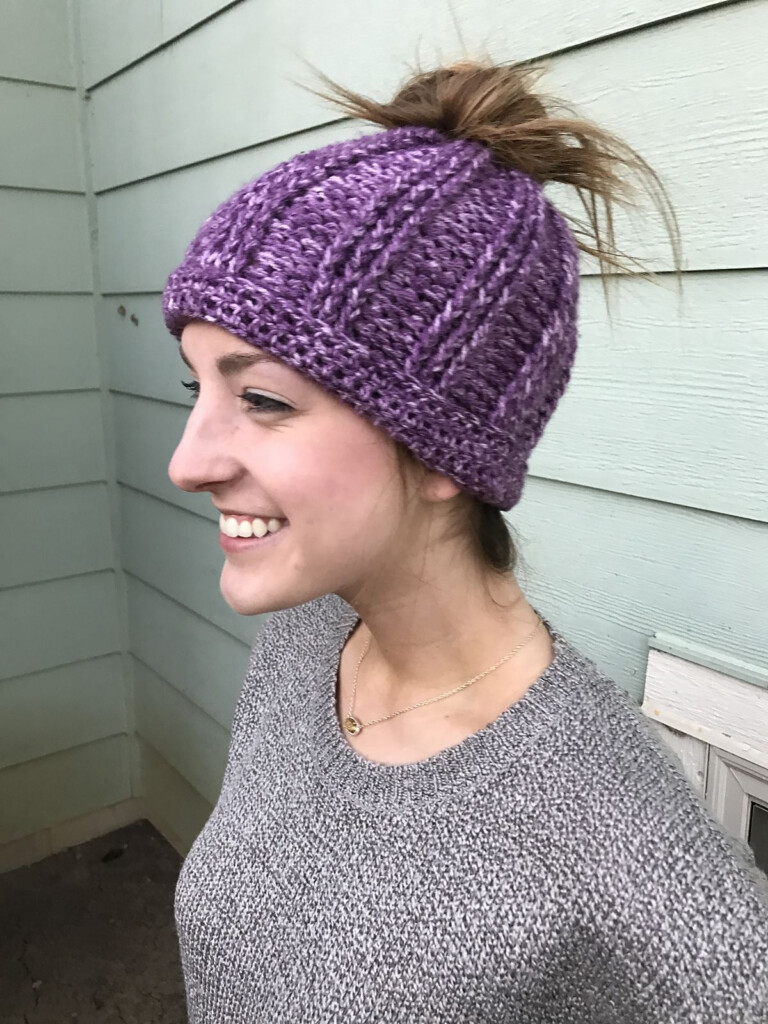
Below the messy bun opening serves as the key feature of your hat, allowing your hair to flow freely. To create this opening, you will customize the stitch count and spacing to ensure it accommodates your hair comfortably while maintaining the structure of the hat.
Considering the importance of proportion, make sure the opening is neither too small nor excessively large. You want to achieve a balance that allows your bun to sit comfortably while keeping your head warm and stylish. As you crochet this section, focus on the stitch tension to avoid losing the shape of the hat, and double-check the size against your actual bun for that perfect fit.
Finishing Touches
Many crafters find the finishing touches to be a rewarding part of creating your messy bun hat. It’s the moment when your hard work truly comes together, and you can add your personal flair. From weaving in ends to adding embellishments, each step enhances the overall appearance of your hat, ensuring it’s both functional and fashionable. Take your time with these final steps to achieve a polished look that showcases your crochet talent.
Weaving in Ends
About weaving in your ends—this simple, yet often overlooked process ensures your messy bun hat looks neat and lasts longer. To weave in ends, you should use a tapestry needle to carefully tuck the yarn tails into the stitches on the inside of your hat. This not only gives your project a clean finish but also prevents any unraveling. Make sure you weave in each end securely to maintain the integrity of your lovely hat.
Adding Embellishments
Before you finish your messy bun hat, consider adding embellishments for a unique touch. With endless options such as buttons, flowers, or pom-poms, you can personalize your crochet project to reflect your style. Think about contrasting colors or textures to create a visual impact that enhances your hat’s charm.
Ends can really elevate your messy bun hat. You can incorporate a variety of embellishments like handcrafted flowers or vibrant buttons that pop against your base color. Opt for safe items that won’t snag or come off easily to keep your hat wearable and practical. Using craft glue can help secure items if you prefer a non-sewing option. Each embellishment you add will tell a story and make your hat uniquely yours, giving it a personal touch that stands out!
Troubleshooting Common Issues
Not every crochet project goes as planned, and that applies to your messy bun hat too. As you work through the pattern, you may encounter various challenges that can affect the final look and fit of your creation. Fortunately, most issues have simple solutions, enabling you to enjoy the process, learn, and create a beautiful piece you can be proud of.
Fixing Size Problems
Between the yarn choice and your personal tension, size discrepancies can occur. If your hat is too tight, consider using a larger hook or adding extra stitches. Conversely, if it’s too loose, you can try reducing your hook size or decreasing the number of stitches. Making adjustments during the project can help you achieve that perfect fit.
Correcting Mistakes in Stitching
Between pattern deviations and accidental missed stitches, errors can happen during your crochet journey. A keen eye when reviewing your work can help identify mistakes early on. You can easily correct these issues by frogging (undoing) a few rows and redoing the stitches. Alternatively, if you’ve made a small error, you can often fix it by simply pulling the yarn through and adjusting as needed.
Stitching mistakes can be frustrating, but you can turn them into learning experiences. Assess your work regularly to catch any errors before they become more challenging to fix. If you notice a particular stitch is consistently problematic, practice that stitch separately until you feel confident. Mistakes are a part of the craft, so embracing them will enhance your skills and contribute to your growth as a crocheter.
Variations and Customizations
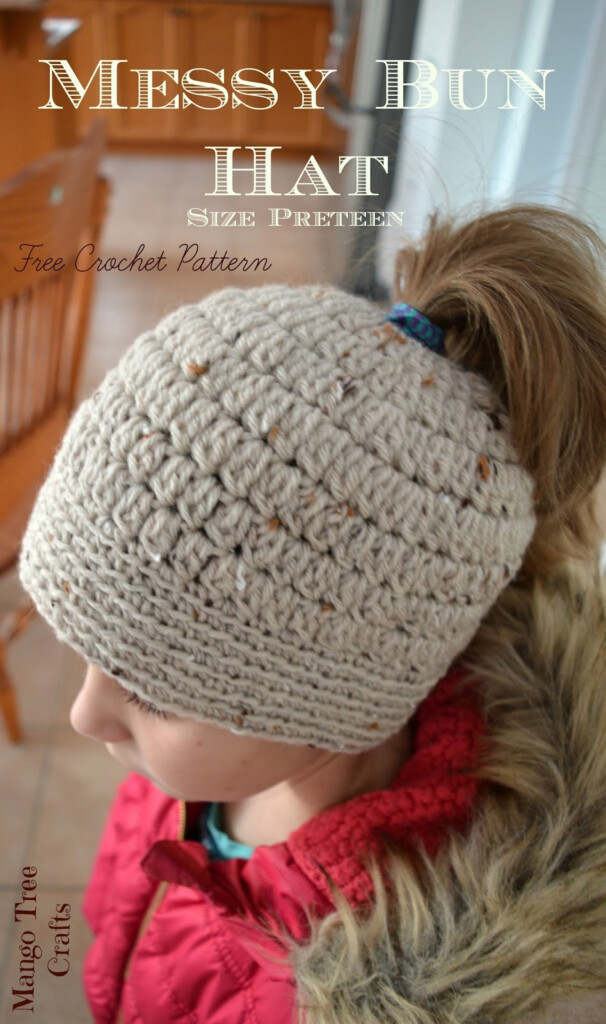
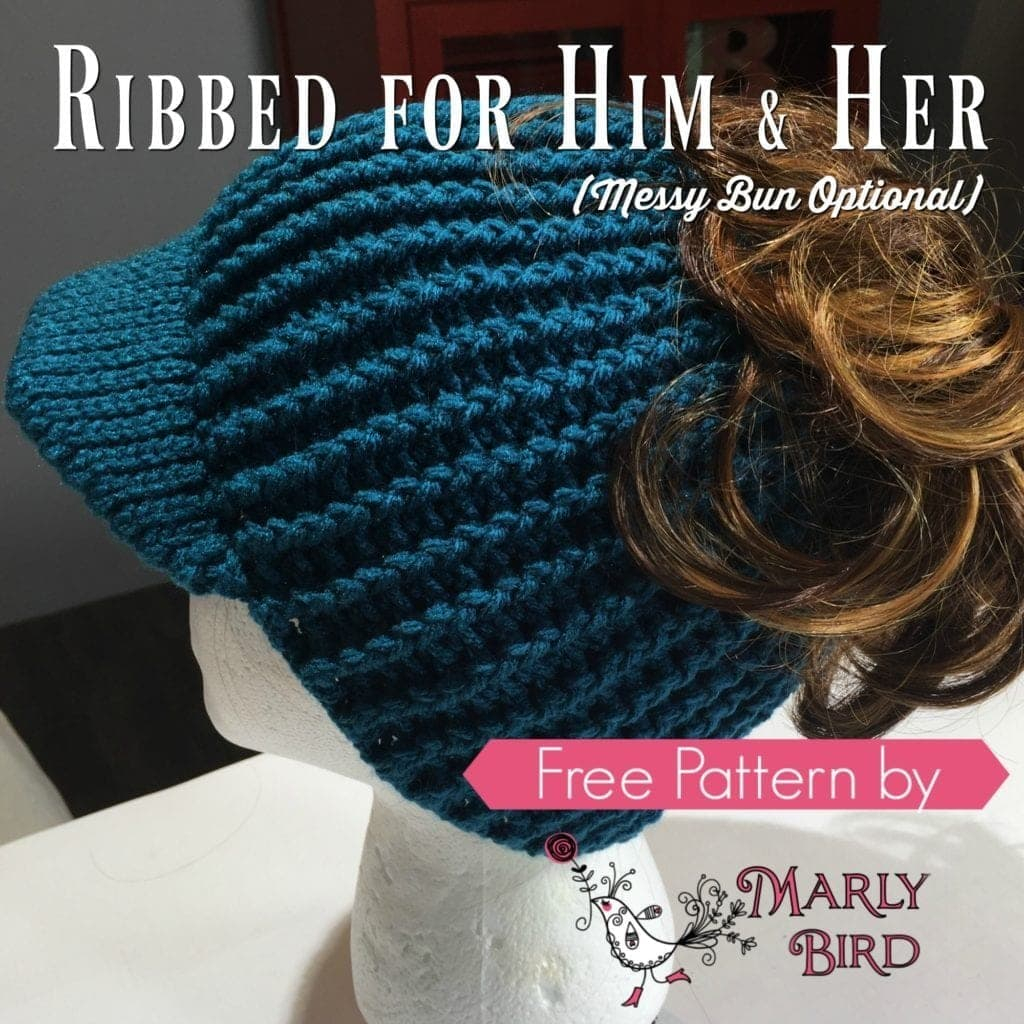
For those looking to put a personal touch on your messy bun hat, there are countless variations and customizations to explore. You can easily find stunning examples, such as the Bernat Crochet Mommy and Me Messy Bun Hats, which showcase how different yarn types and textures can make your hat truly unique. Don’t hesitate to experiment with different stitches and colors to express your style!
Color Patterns
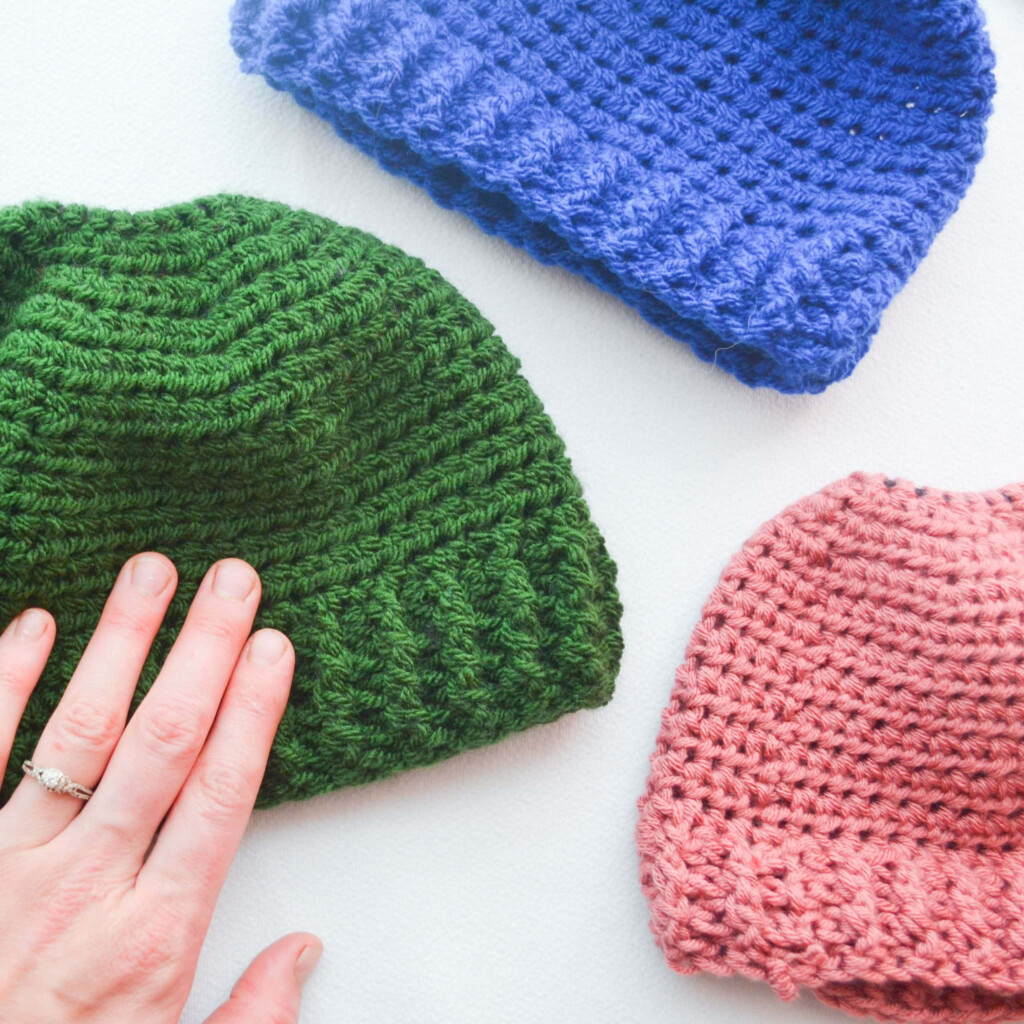
Color plays a significant role in the overall aesthetic of your messy bun hat. You can mix contrasting shades for a vibrant look or opt for monochromatic tones for a more sophisticated vibe. By using different color patterns like stripes, ombre, or even playful polka dots, you can create a hat that not only complements your wardrobe but also showcases your personal flair.
Adding Pompoms or Flowers
Any creative touch, such as adding pompoms or flowers, can elevate your messy bun hat. These embellishments can be placed on the brim or the top, allowing for versatility in your design. Using various materials like yarn, fabric, or faux fur can result in a stunning final product that captures attention.
Flowers are a fantastic way to add whimsy and charm to your hat. You can create your own unique crochet flowers or purchase premade ones to save time. Ensure you securely attach them, as loose embellishments can diminish the functionality of your hat. A well-placed flower or a fluffy pompom not only enhances the visual appeal but also expresses your creativity and individuality.
Summing up
Upon reflecting, creating a Messy Bun Hat using a free crochet pattern is an enjoyable and rewarding project for any crocheter. You can customize your hat to suit your style while ensuring that it stays functional and trendy. By following the pattern carefully and incorporating your personal touches, you can craft a unique and practical accessory that showcases your skills. Embrace your creativity, and soon you’ll have a beautiful Messy Bun Hat ready for any occasion!
Download Messy Bun Hat Free Pattern Crochet
To get Messy Bun Hat Free Pattern Crochet ideas and stuff, check out the gallery of them below: