It’s time to elevate your crochet skills with this free crochet ribbed hat pattern that combines style and functionality. You’ll find the step-by-step instructions easy to follow, ensuring you create a cozy accessory to keep you warm during colder months. With your choice of yarn and colors, this pattern offers a chance to showcase your creativity while providing a snug fit that looks great on anyone. As you follow along, you’ll learn various crochet techniques that can enhance your overall crafting experience.
Materials Needed
A great crochet ribbed hat requires a few important materials. Gather your supplies before you start, ensuring you have everything you need for a smooth project.
Yarn Types
Across various yarn types, it’s important to choose the right one for your ribbed hat. Here are some options:
| Worsted Weight Yarn | Ideal for warmth and versatility. |
| Bulky Yarn | Provides a cozy feel and faster results. |
| Sport Weight Yarn | Lightweight, perfect for moderate climates. |
| Natural Fibers | Organic options offer breathability. |
| Acrylic Blends | Affordable, durable, and easy to care for. |
The right yarn type can greatly affect the overall look and feel of your finished hat.
Recommended Hook Size
To achieve a beautiful ribbed texture in your crochet hat, you will need to select the appropriate hook size. The size of your crochet hook will directly influence the stitch appearance and overall size of your project.
But don’t overlook this important aspect! A hook that is too large may result in loose stitches, while a smaller hook could make the project tight and challenging to work with. Using a hook size that aligns with your chosen yarn type ensures uniform tension and beautiful stitches.
Understanding Gauge
Assuming you want your crochet ribbed hat to fit perfectly, understanding gauge is vital. Gauge is the measurement of how many stitches and rows you crochet in a specific size, usually in a 4-inch square. For a detailed example, you can check out this Crochet Easy Ribbed Red Heart Brushed Hat, which emphasizes the importance of getting your gauge right.
Importance of Gauge
Among the many factors that influence your finished project, gauge plays a vital role in ensuring your hat fits as intended. A correct gauge means your hat will match the pattern specifications, preventing discomfort or looseness after completion. If your gauge is off, you may end up with an ill-fitting product.
How to Check Your Gauge
For checking your gauge, you’ll need to crochet a small swatch, typically 4 inches square, using the same yarn and hook specified in your pattern. After you’ve completed your swatch, measure the number of stitches and rows within the 4-inch area. This will help you understand if your tension is too tight or too loose.
Also, make sure to block your swatch as you would your final product, since this can affect your gauge readings. If your gauge differs from the pattern’s specified measurements, adjust your hook size accordingly. This small step can make a significant difference in your project’s success, ensuring your hat fits you snugly and comfortably.
Basic Stitches Used
You will be using several fundamental crochet stitches to create your ribbed hat. Mastering these basic techniques will enable you to easily follow the pattern and achieve a professional-looking finish. Understanding the foundation of crochet stitches helps elevate your projects, allowing you to explore more complex designs in the future.
Chain Stitch
Stitches are the building blocks of your crochet project, and the chain stitch is your starting point. This foundational stitch creates a flexible base for your work, allowing you to form rows as you progress. You will often use it at the beginning of your projects, providing the foundation needed for various patterns.
Single Crochet and Half Double Crochet
By incorporating single crochet and half double crochet stitches into your ribbed hat, you create a textured and cozy fabric. These stitches not only enhance the elasticity of your hat but also improve its overall appearance.
Basic single crochet stitches are simple yet effective, offering a firm and dense fabric that provides warmth. The half double crochet, on the other hand, adds additional height and texture, making your ribbed pattern even more pronounced. Together, these stitches create a balanced design that is both stylish and functional, perfect for keeping you warm and comfortable.
Ribbed Hat Pattern Instructions
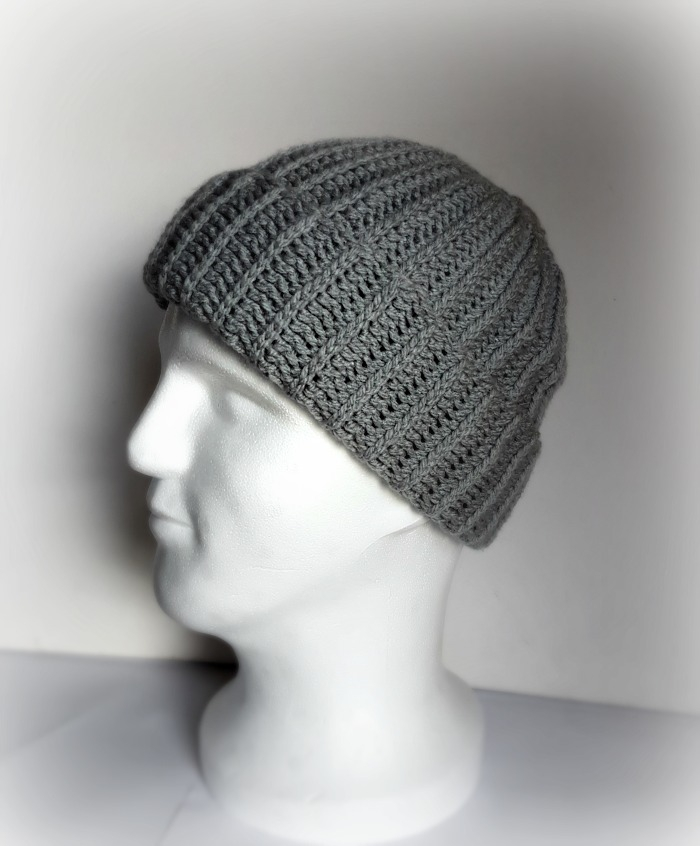
Many crafters enjoy making ribbed hats due to their stylish appearance and unique texture. This pattern will guide you through creating a beautifully ribbed hat that fits snugly, keeping you warm during colder months. Gather your materials, and let’s crochet this cozy accessory step by step, ensuring you achieve the perfect fit and finish!
Adult Size
The adult size ribbed hat should measure approximately 22-24 inches in circumference. Begin with a foundation chain that will allow for comfortable stretching, and use a combination of double crochets and front post stitches to create the ribbed effect. Follow the pattern diligently to maintain consistency in your stitches for a polished look.
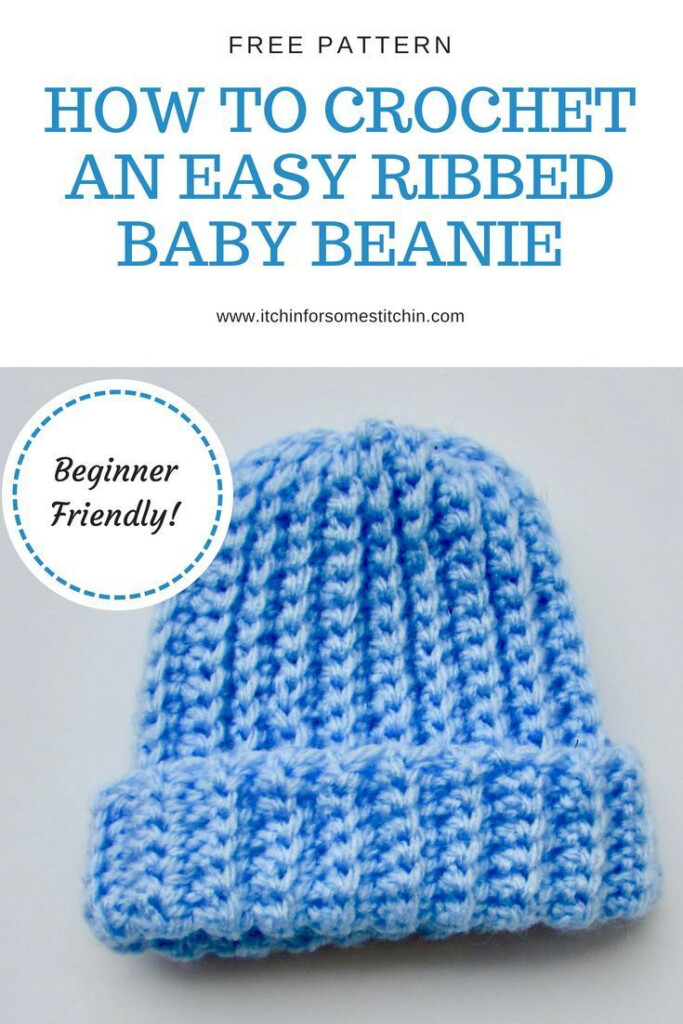
Child Size
Among the sizes you can create, the child size ribbed hat is perfect for those little ones aged 4 to 10, typically measuring around 20-22 inches in circumference. This size not only fits snugly but also provides a cozy feel, ensuring warmth and comfort during chilly days.
And you might find that this ribbed hat pattern translates beautifully for children, allowing you to customize colors and patterns to their tastes. Ensure you adjust the foundation chain accordingly, and use softer yarn materials that are gentle on their skin. Always check your gauge to avoid any discomfort, making this a safe and enjoyable project for your child.
Customization Options
Not only can you create a cozy and stylish ribbed hat, but you also have countless customization options to personalize your creation. Choose sizes to fit your needs, adjust the ribbing depth, or change the stitch types for a unique look. You can also explore variations in brim width and crown shaping to tailor the hat to your specific style.
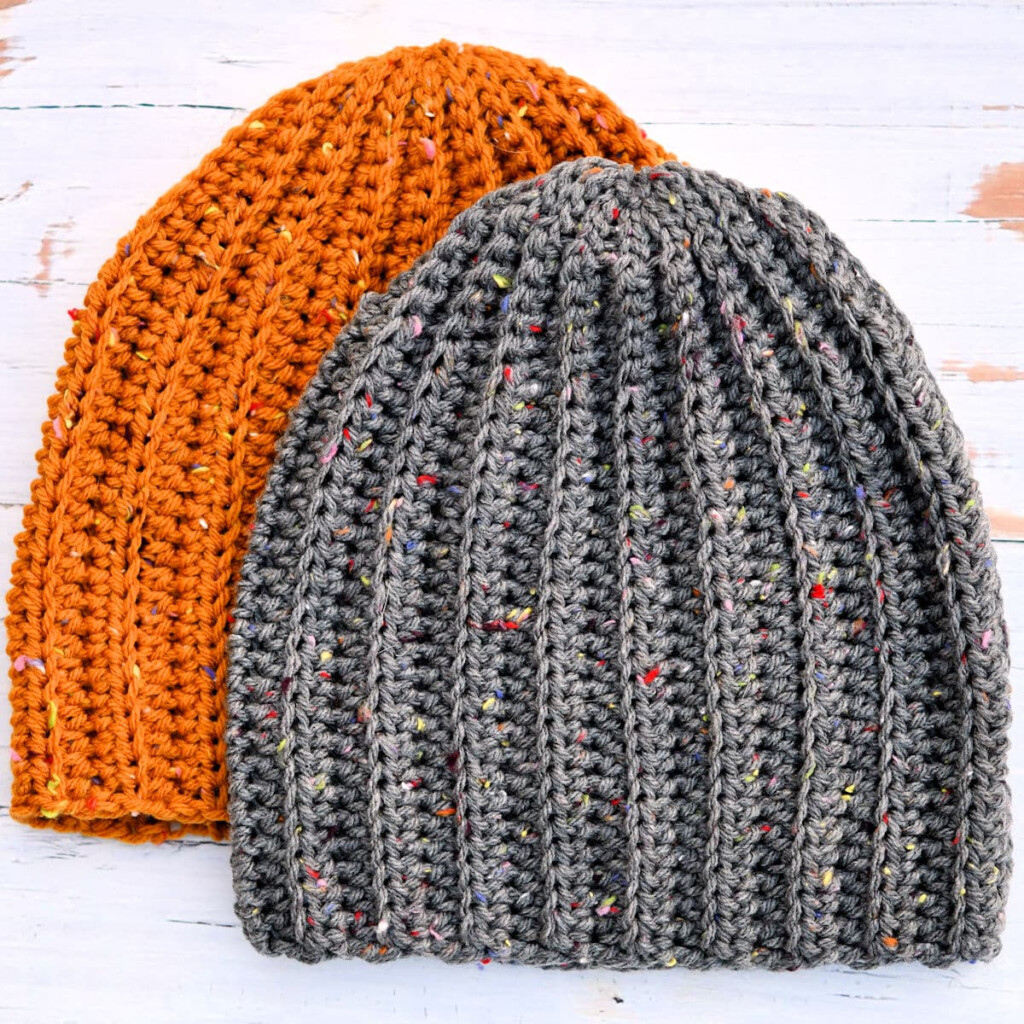
Color Variations
Behind each ribbed hat lies the potential for stunning color variations. You can select from a wide range of yarn shades, from bold and bright to muted and soft pastels. Consider using a gradient or variegated yarn for a more dynamic visual effect that will make your hat one-of-a-kind.
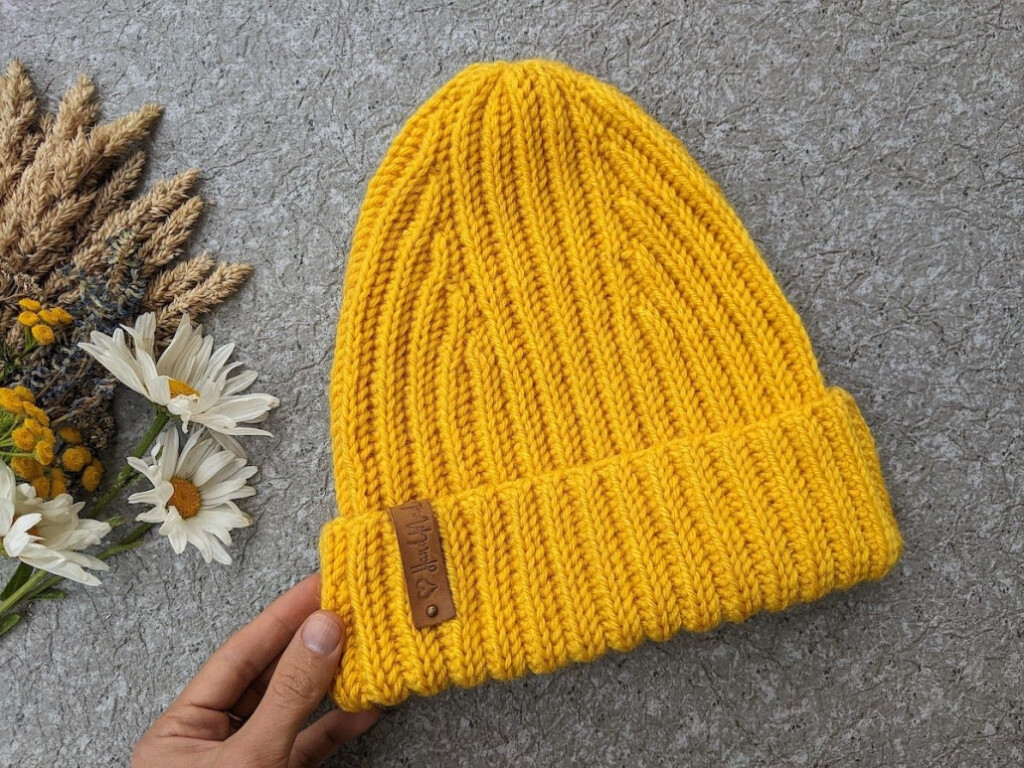
Adding Embellishments
Adding embellishments to your ribbed hat can elevate its style and individuality. You can incorporate items like pom-poms, buttons, or even crochet flowers to enhance the visual appeal. Personal touches like these not only showcase your creativity but also allow your hat to stand out and truly reflect your personality.
With embellishments, you can transform your ribbed hat into a statement piece. Try using a contrasting color for your pom-pom to create a striking look or opt for hand-sewn patches that represent your interests. These details and choices not only amplify the design but also make the hat uniquely yours—adding a personal touch that fellow crafters will admire.
Troubleshooting Common Issues
Now that you’re deep into your crochet project, it’s common to encounter some hurdles along the way. By identifying specific problems, you can quickly get back on track and create a beautiful ribbed hat. Whether it’s issues with sizing, stitch tension, or yarn choice, we’ll cover some valuable tips to ensure your project goes smoothly.
Sizing Problems
Before you begin, make sure you take accurate measurements for your hat. If the fit is off, it might be due to incorrect gauge or a mismatch between your measurements and the pattern. Adjust your hook size or add/remove rows as necessary to achieve the desired fit.
Stitch Tension
Along the way, you may notice that your stitches aren’t uniform, which can affect the overall look of your hat. Different yarns and hook sizes can contribute to this issue, leading to uneven tension that can ultimately alter the hat’s size and shape.
Troubleshooting your stitch tension is crucial to achieving a polished finish. If your stitches are too tight, consider using a larger hook size or relaxing your grip while crocheting. Conversely, if they are too loose, try a smaller hook or practice keeping your tension consistent. Alternately, switching to a different yarn can also help create a smoother fabric, leading to a more professional appearance. Pay attention to your gauge swatch before starting the project to ensure you’re on the right track. Regularly checking your work throughout the process can save you from larger issues down the line.
To wrap up
Drawing together your crafting skills, this Free Crochet Ribbed Hat Pattern offers you a wonderful opportunity to enhance your crochet repertoire. With simple stitches and clear instructions, you can create a stylish hat that keeps you warm and showcases your creativity. By following this pattern, you not only expand your crochet techniques but also enjoy a rewarding hands-on project that makes a perfect gift or personal accessory. Embrace the joy of crocheting and let this pattern guide you toward making a unique piece that reflects your personal style.
Download Free Crochet Ribbed Hat Pattern
To get Free Crochet Ribbed Hat Pattern ideas and stuff, check out the gallery of them below: