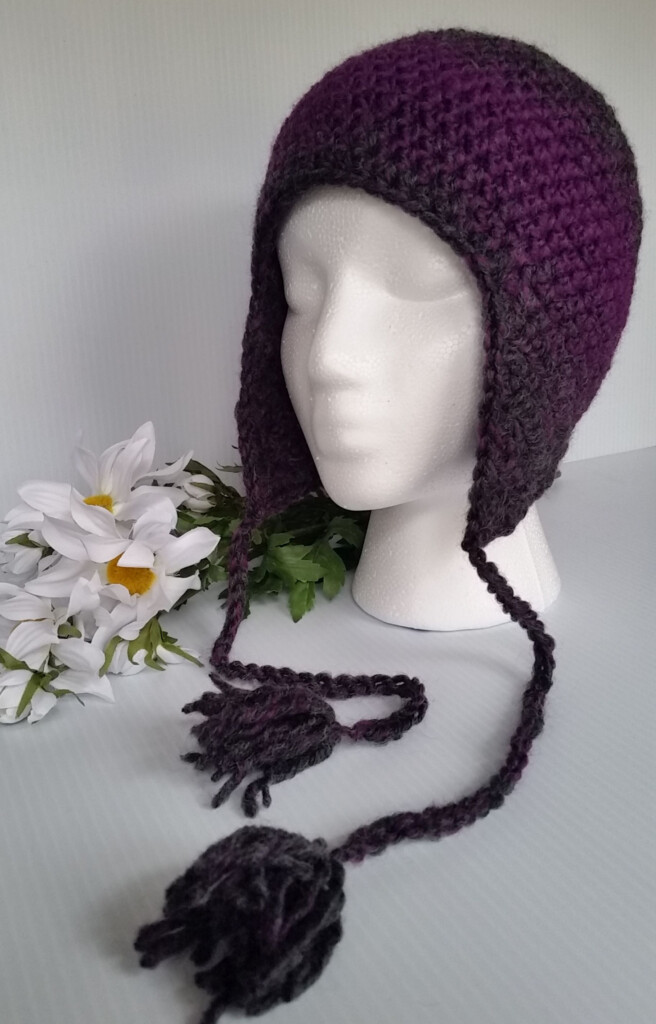
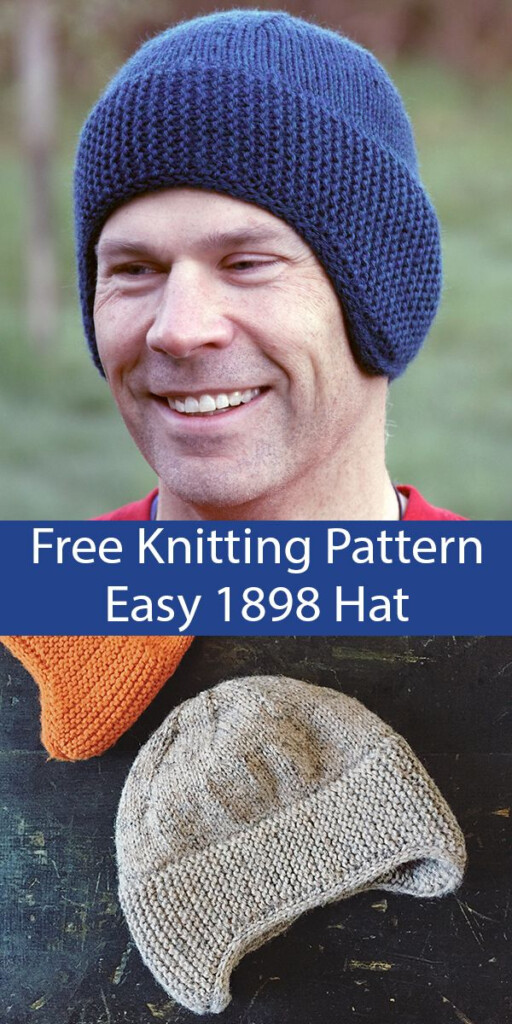
Free Crochet Pattern Mens Earflap Hat – Crochet earflap hats are a stylish and practical accessory for colder weather. A men’s earflap hat is the perfect combination of warmth and style, and it makes for a fantastic handmade gift. Below is a simple, yet functional free crochet pattern for a men’s earflap hat. This pattern is ideal for beginners and those looking for a quick project.
Materials Needed:
-
Yarn: Choose a medium weight (4) yarn such as Red Heart Super Saver or Caron Simply Soft. You’ll need approximately 150-200 yards, depending on the size.
-
Hook: 5.5 mm (I-9) crochet hook.
-
Stitch markers: For keeping track of rounds.
-
Yarn needle: For weaving in ends.
-
Scissors: For cutting yarn.
-
Optional: Pom-pom or tassels for decoration.
Abbreviations:
-
ch = chain
-
sl st = slip stitch
-
sc = single crochet
-
dc = double crochet
-
hdc = half double crochet
-
st = stitch
Sizing:
This pattern is written for an adult male size, but you can easily adjust it for different sizes by changing the number of starting stitches or adding/removing rows.
1. Start with the Brim
Begin by creating a foundation chain that fits comfortably around the head. For most adult men, this will be around 56-60 chains.
-
Row 1: Ch 56 (or desired number for circumference). Join to form a ring, being careful not to twist.
-
Row 2: Work in the round using single crochet (sc) in each stitch around. Repeat for 8-10 rows to create the brim. The width of the brim should be about 2-3 inches.
2. Work Up the Hat
Now it’s time to move up to the main body of the hat.
-
Row 1: Work in hdc (half double crochet) for the next few rounds to create a snug but flexible fit.
-
Row 2: Continue in rounds until the hat measures approximately 6-7 inches (or desired height for the hat).
3. Create the Earflaps
The earflaps give this hat its signature look and practicality.
-
Row 1 (Earflap): Attach yarn at the side of the hat and ch 2. Work 10-12 hdc into the next few stitches along the edge, turning at the end of the row.
-
Row 2 (Earflap): Work 10-12 hdc back across the row. Repeat until the earflap measures about 4-5 inches long.
-
Repeat for the other earflap on the opposite side of the hat.
4. Add the Earflap Ties (Optional)
To finish off the earflaps, you can add some braided ties to keep the hat secure.
-
For each earflap, cut three 12-inch strands of yarn.
-
Braid them together and secure with a knot at the end.
5. Finishing the Hat
-
Top of the Hat: Once the hat is the desired height, decrease evenly in each round to close the top of the hat.
-
Work sl st until you are down to a few stitches, then cut the yarn and pull it through the remaining stitches. Secure with a knot.
-
Weave in any loose ends using a yarn needle.
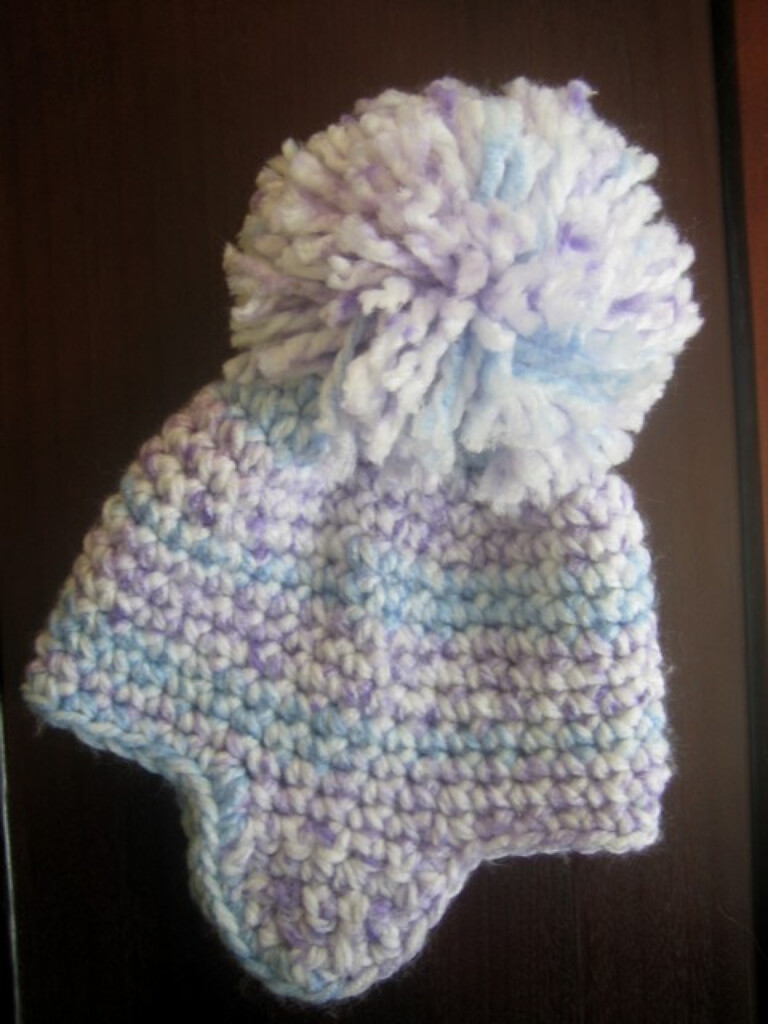
6. Add Optional Embellishments
You can personalize your earflap hat with a pom-pom on top or decorative tassels on the earflaps for extra flair.
Quick Recap:
-
Use a medium weight yarn and 5.5 mm crochet hook.
-
Create a sturdy brim using sc stitches.
-
Work the body of the hat using hdc for a snug fit.
-
Add earflaps with 10-12 hdc stitches each.
-
Optional: Add pom-pom or tassels for decoration.
Final Thoughts:
This men’s earflap hat is perfect for colder weather and makes a great gift for friends or family. Whether you’re new to crocheting or have been crocheting for years, this simple pattern will help you create a functional and stylish accessory. Customize the design with your favorite colors, and get creative with embellishments for a one-of-a-kind look.
Happy crocheting!
Download Free Crochet Pattern Mens Earflap Hat
To get Free Crochet Pattern Mens Earflap Hat ideas and stuff, check out the gallery of them below: