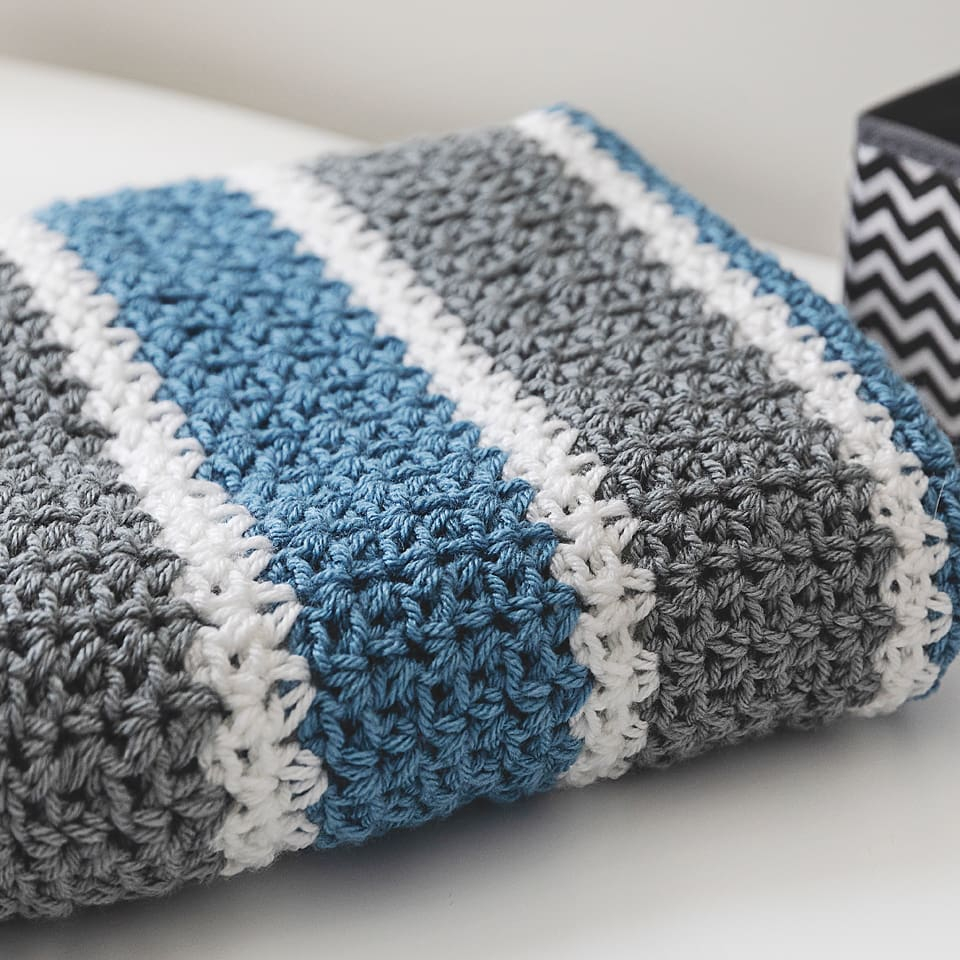
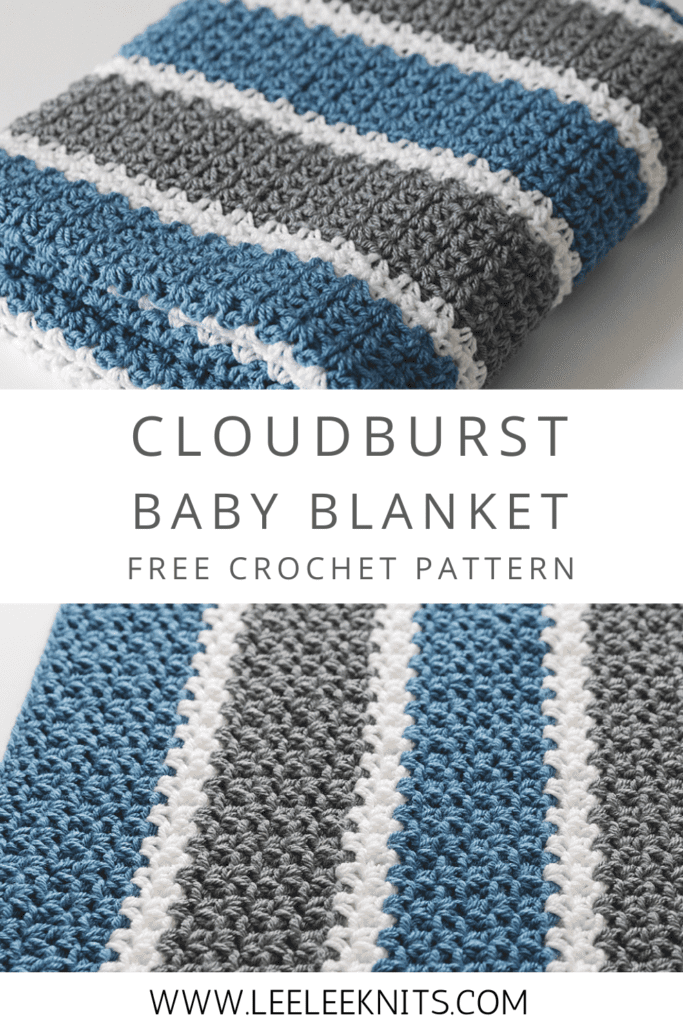
Most crochet enthusiasts cherish the satisfaction of creating cozy blankets from scratch, and a striped blanket pattern is a fantastic project that combines simplicity with style. In this post, you’ll discover a free pattern that guides you step-by-step through the process, ensuring that your hands are busy and your creativity is flowing. You will learn how to achieve that perfect blend of colors and textures that can transform your living space or make a heartfelt gift. Grab your yarn and hook, and let’s get started on your next masterpiece!
Materials Needed
The materials for your crochet striped blanket are crucial for ensuring your project turns out beautifully. You will need yarn in multiple colors, a crochet hook, a pair of scissors, and a yarn needle for weaving in the ends. Choosing the right yarn can make a significant difference in the overall look and feel of your blanket, so select wisely to match your desired aesthetics.
Yarn Selection
Before you start, consider the type of yarn you want to use for your blanket. Lightweight options like cotton are perfect for warmer weather, while acrylic yarns offer durability and warmth for colder climates. Opt for yarn with a soft texture to ensure your blanket is cozy and comfortable, while vibrant colors will enhance the visual appeal of your striped design.
Crochet Hook Size
After you’ve decided on your yarn type, it’s time to select the appropriate crochet hook size. The hook size will depend on the yarn’s weight; typically, a larger hook is used for bulky yarns, while a smaller hook works well with lightweight yarns. Always refer to the yarn label for recommended hook sizes to achieve the best results.
Hook size is an important factor in your crochet project that influences both the look and feel of your blanket. A hook that is too small might create tight stitches, making your blanket stiff, while a hook that is too large could give your blanket an airy and loose appearance. You want to ensure that your stitches are even and that the fabric drapes well. Familiarize yourself with the yarn label for guidance, as it often indicates the recommended sizes for an optimal outcome.
Crochet Techniques
While creating your crochet striped blanket, mastering various crochet techniques will enhance your skills and result in a beautiful finished product. Familiarizing yourself with different stitches and methods will not only improve your comfort and speed but also help you achieve precise color changes and an even texture. Adopting the right techniques will transform your blanket from a simple project into a work of art.
Basic Stitches
Across your crochet journey, you’ll rely heavily on a few basic stitches to create the foundation of your striped blanket. The most common stitches include the chain stitch, single crochet, and double crochet. These stitches are crucial for building rows and creating a stunning texture. By practicing these stitches, you ensure a solid start to your blanket and allow for creativity as you experiment with colors and patterns.
Color Changes
Before you begin making your striped blanket, understanding how to successfully execute color changes is key to achieving a clean and polished look. Properly handling color transitions will elevate your project, showcasing your skill and attention to detail.
Also, there are a few methods for achieving seamless color changes that you should explore. The “join-as-you-go” technique allows you to switch colors without leaving a visible gap, creating a fluid transition. When changing yarn, be sure to leave a tail long enough to weave in later, ensuring that the ends are secure in your blanket. Practicing these methods will enhance the overall appearance of your blanket while making the process enjoyable and efficient.
Pattern Instructions
Assuming you have gathered your materials, it’s time to examine the exciting part of creating your crochet striped blanket. You’ll be using a combination of simple stitches in a repetitive pattern to achieve a mesmerizing striped effect. Simply follow the steps outlined below to craft your very own cozy creation that you can enjoy for years to come.
Starting Chain
Behind every beautiful crochet project is a solid foundation, and for this blanket, you’ll begin with a starting chain that sets the width of your blanket. Aim to crochet a chain that is a multiple of your chosen stitch count, plus a few extra stitches for turning. This ensures your blanket will have a uniform look and feel as you progress.
Row by Row Guide
Any successful crochet project requires clear instructions, and this row-by-row guide is designed to help you navigate through the pattern seamlessly. Each row will build upon the previous one, utilizing basic stitches to create the striped design. Focus on the tension of your yarn to maintain an even consistency throughout your project.
Guide yourself through the pattern by starting at the first row and following the specified stitch counts for each section. Each row will introduce a new stripe color, which adds visual interest to your blanket. Stay attentive while counting your stitches to avoid any mistakes, as a simple miscount could lead to uneven edges. With each completed row, your blanket will grow and transform into a stunning piece, making your efforts feel rewarding.
Size Options
All the size options for your crochet striped blanket allow you to customize it to fit your needs. Whether you’re looking for a small baby blanket or a large throw, you can easily adjust the dimensions. For more inspiration, check out the as-we-go stripey blanket – not your average crochet.
Baby Blanket
Across the various sizes, a baby blanket typically measures around 30×36 inches. This size is perfect for swaddling your little one or laying on the floor for tummy time. You can easily create a cozy, vibrant blanket that is ideal for your baby’s nursery.
Throw Blanket
Around your living space, a throw blanket typically measures 50×60 inches, offering plenty of coverage for snuggling on the couch. This size is perfect for making your space more inviting and comfortable while adding a pop of color.
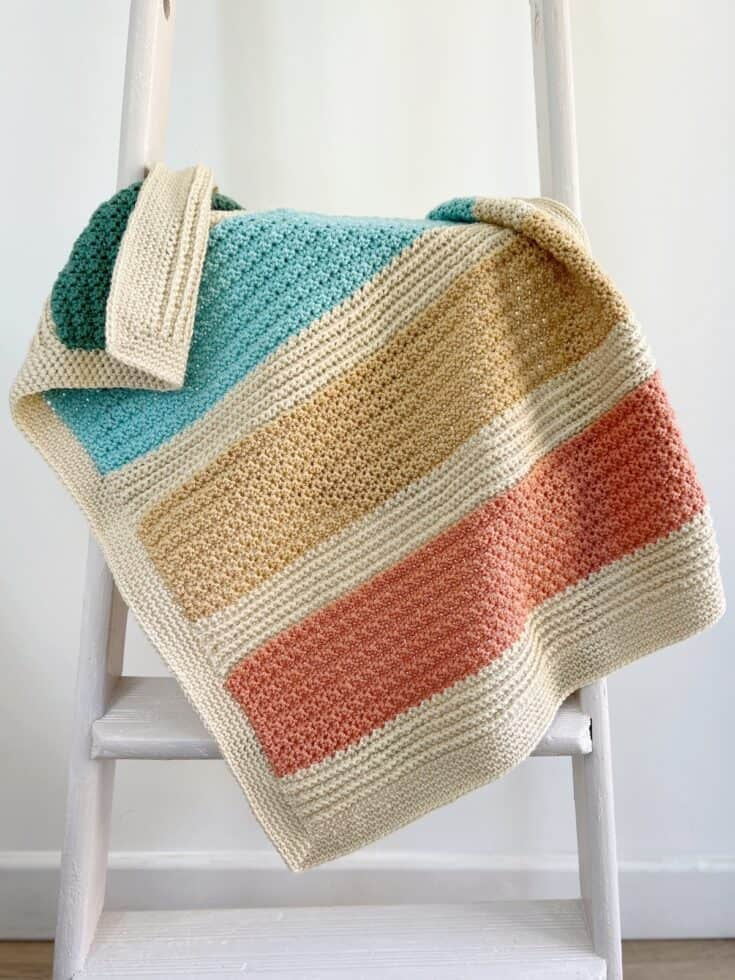
In fact, when choosing a throw blanket, consider how it can enhance your home decor while providing warmth during chilly evenings. You may opt for bold, contrasting stripes to make your blanket a statement piece or go with soft pastels for a more soothing vibe. The throw size allows for versatility; you can use it as an accent in your living room or as a comforting wrap during cooler months. Always ensure to maintain a balance in your yarn choices to achieve a harmonious look and feel for your throw blanket.
Customization Ideas
After you’ve completed your crochet striped blanket, you might want to explore various customization ideas to make it uniquely yours. Consider choosing color combinations that resonate with your personal style, or even incorporate different yarn textures for added visual interest. You can also adjust the size of the blanket by varying the number of stripes or the width of each stripe, allowing for a tailored piece that suits your needs.
Stripes Variations
Variations in stripe patterns can elevate your blanket’s design. You might choose to alternate between thick and thin stripes for a modern look or experiment with chevron or zigzag patterns for added flair. Additionally, consider using gradient yarn for a smooth transition between colors, which can create a stunning visual effect.
Adding Borders
On your journey to personalize your blanket, adding a border can significantly enhance its overall appearance. Not only does a border frame your work, but it also adds durability and helps prevent fraying edges.
Considering a border, you’ll want to select a pattern that complements your main design. A simple single crochet border can provide a neat finish, while a more intricate lace or shell border can add a touch of elegance. Keep in mind that the color and stitch type you choose for the border should harmonize with the rest of your blanket, ensuring a cohesive look. Don’t hesitate to try contrasting colors for a bold statement or stay within your palette for a softer finish.
Care Instructions
Many factors contribute to maintaining the beauty and longevity of your crochet striped blanket. Following proper care instructions ensures your blanket remains vibrant and cozy for years to come.
Washing and Drying
One of the best ways to keep your blanket looking fresh is to wash it gently. Hand washing with mild detergent is recommended, as machine washing may cause wear and tear. If you choose to use a machine, select a delicate cycle and cold water. Always air dry your blanket flat to avoid any misshaping from the dryer.
Storage Tips
Around the changing seasons, you might find yourself needing to store your crochet blanket. It’s best to keep it in a cool, dry place to prevent any damage from moisture or pests. Consider these tips:
- Use breathable storage bags or containers.
- Avoid direct sunlight to prevent fading.
- Check periodically for any signs of pests.
Knowing how to store your blanket properly helps maintain its condition for future use.
In fact, careful storage is key to keeping your crochet striped blanket looking its best. You should always ensure that it is clean before storing, as dirt can attract insects. Here are additional tips:
- Fold it neatly instead of balled up.
- Keep away from moisture to avoid mildew.
- Use lavender sachets for a pleasant scent and to deter bugs.
Knowing these practices will help you maintain both the beauty and functionality of your blanket throughout the years.
Final Words
So, as you commence on your journey to create a stunning crochet striped blanket, utilizing a free pattern can make the process not only enjoyable but also accessible. With your chosen colors and yarn in hand, you can personalize this blanket to perfectly suit your style and home decor. Each stripe you crochet brings you closer to a cozy and beautiful piece that showcases your skills. Embrace the creativity and warmth that comes with crafting, and enjoy every stitch of your new blanket!
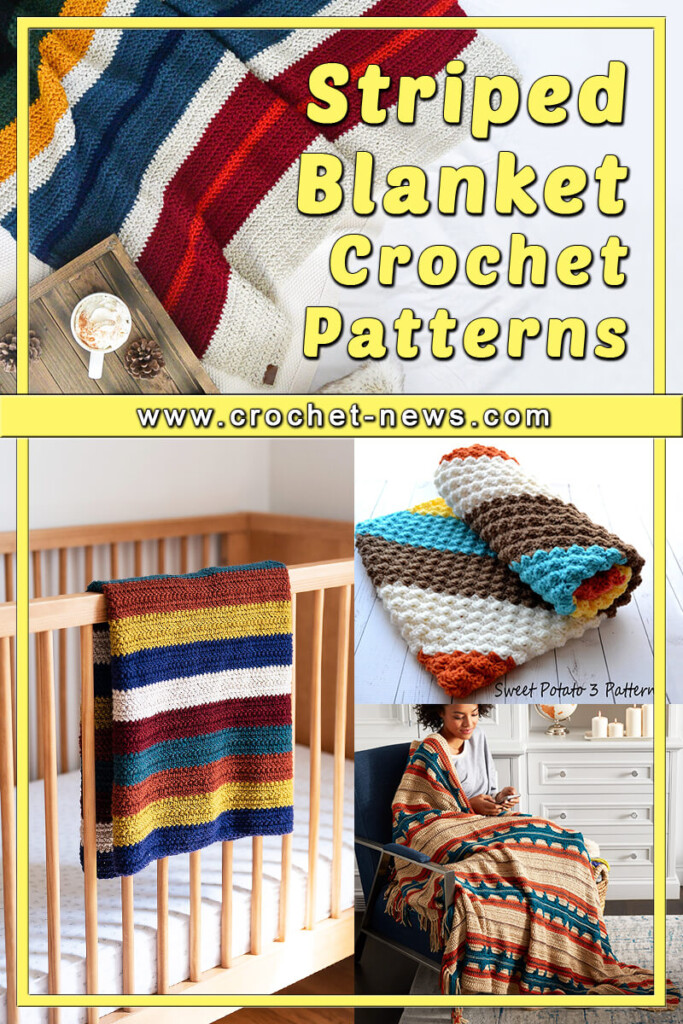
Download Crochet Striped Blanket Pattern Free
To get Crochet Striped Blanket Pattern Free ideas and stuff, check out the gallery of them below: