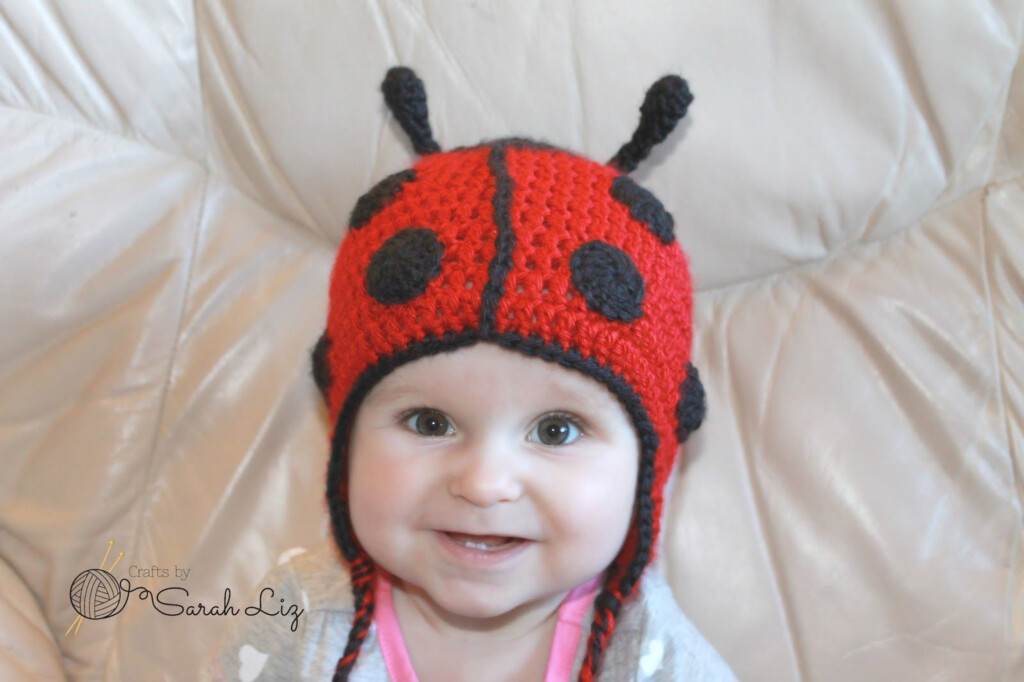
Crochet Ladybug Hat Pattern Free – Crocheting a cute ladybug hat is a fun and creative way to add a bit of whimsy to your wardrobe. Perfect for kids, or as a fun accessory for any occasion, this ladybug hat pattern is easy to follow and works up quickly. Whether you’re a beginner or an experienced crocheter, this free crochet ladybug hat pattern will help you create a charming and playful design!
Materials Needed:
-
Yarn:
-
Red (for the body)
-
Black (for the spots and antennae)
-
-
Crochet Hook: Size H-8 (5mm)
-
Stitch Markers (optional): To help keep track of rounds
-
Tapestry Needle: For weaving in ends
-
Scissors
Abbreviations:
-
Ch: Chain
-
Sl st: Slip stitch
-
Sc: Single crochet
-
Hdc: Half double crochet
-
Dc: Double crochet
-
Inc: Increase (2 stitches in one stitch)
-
St: Stitch
Instructions:
Make the Hat Base:
-
Start with the Magic Ring:
-
Make a magic ring and ch 2. Work 10 dc into the ring. Tighten the ring, then join with a sl st to the first dc. (10 dc)
-
-
Increase Rounds:
-
Round 1: Ch 2, 2 dc in each stitch around. Join with a sl st. (20 dc)
-
Round 2: Ch 2, 2 dc in next stitch, dc in next stitch around. Join with a sl st. (30 dc)
-
Round 3: Ch 2, 2 dc in next stitch, dc in next 2 stitches around. Join with a sl st. (40 dc)
-
-
Continue to Build the Hat:
-
Round 4: Ch 2, dc in each stitch around. Join with a sl st.
-
Round 5-8: Repeat round 4 until the hat measures the desired height for the size you’re making.
-
-
Shape the Crown:
-
Round 9: Ch 2, dc2tog, dc in next 2 stitches around. Join with a sl st.
-
Round 10: Ch 2, dc2tog, dc in next stitch around. Join with a sl st.
-
Round 11: Ch 2, dc2tog around. Join with a sl st.
-
-
Finish the Hat:
-
Cut your yarn, leaving a long tail. Use a tapestry needle to pull the yarn through the remaining stitches. Tighten and weave in ends.
-
Ladybug Spots:
-
Make the Spots:
-
Make a small circle with black yarn by creating a magic ring.
-
Round 1: Ch 1, 6 sc in the ring. Join with a sl st.
-
Round 2: Ch 1, sc in next stitch, 2 sc in next stitch around. Join with a sl st.
-
Fasten off and leave a long tail for sewing.
-
-
Add the Spots:
-
Sew the black circles onto the red part of the hat. Position them in a random or pattern to resemble the spots on a ladybug.
-
Antennae:
-
Make the Antennae:
-
Ch 10, then sl st back down the chain to create a small cord.
-
Fasten off, leaving a long tail for attachment.
-
-
Attach the Antennae:
-
Sew the antennae to the top of the hat, near the crown, using the long tails from the chain.
-
Optional: Adding a Bow
For extra cuteness, you can add a little red or black bow to the side of the hat! Make a small bow by creating a chain of 4, then make 3 sc in each chain to form the bow. Secure the bow on the side of the ladybug hat.
Final Thoughts:
Your ladybug hat is now complete! This adorable crochet hat is perfect for baby showers, birthday parties, or any fun event. The combination of red and black is playful and bright, and the antennae and spots give it a fun, whimsical touch. Enjoy making your new favorite hat!
Download Crochet Ladybug Hat Pattern Free
To get Crochet Ladybug Hat Pattern Free ideas and stuff, check out the gallery of them below: