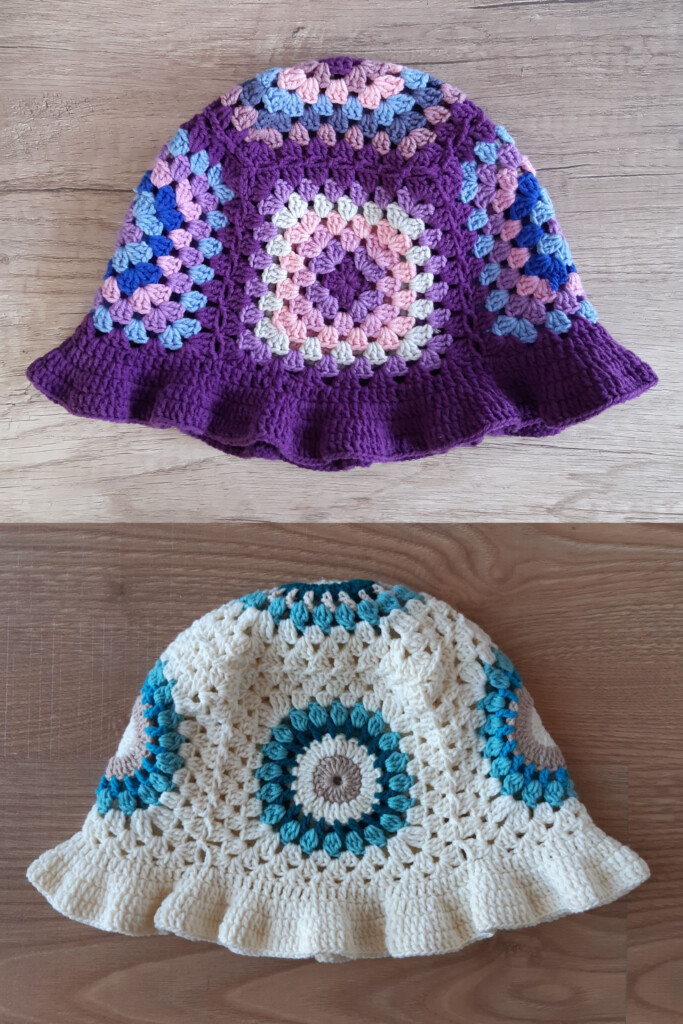
Crochet Baby Bucket Hat Pattern Free – Here’s a Free Crochet Baby Bucket Hat Pattern that’s perfect for sunny days or adding a cute accessory to your little one’s outfit. This lightweight hat will keep them protected from the sun while looking adorable. It’s simple to make, and you can customize it with different colors to suit your baby’s style.
Free Crochet Baby Bucket Hat Pattern
Materials Needed:
-
Yarn:
-
1 skein of Worsted weight yarn in your preferred color (about 100 yards).
-
Optional: You can use a cotton yarn for a more breathable hat.
-
-
Crochet Hook: Size 4mm (G-6) or the recommended hook for your yarn.
-
Stitch Markers: To mark the beginning of each round.
-
Yarn Needle: For weaving in ends.
-
Scissors.
Sizes:
-
This pattern is designed for a 0-3 months baby, but it can easily be adjusted for larger or smaller sizes by adjusting the number of rounds.
Gauge:
-
4 inches = 12 dc (double crochet) in the round, using worsted weight yarn.
Instructions
Step 1: Crochet the Hat’s Crown
-
Start with a Magic Ring:
-
Create a magic ring and chain 2 (this counts as the first hdc – half double crochet).
-
-
Round 1:
-
Work 8 hdc into the magic ring. (8 hdc total)
-
Pull the ring tight to close.
-
Join the round with a slip stitch to the first hdc.
-
-
Round 2:
-
Chain 2 (counts as first hdc), work 2 hdc in each stitch around. (16 hdc total)
-
Join with a slip stitch.
-
-
Round 3:
-
Chain 2, hdc in the next stitch, 2 hdc in the next stitch. Repeat around. (24 hdc total)
-
Join with a slip stitch.
-
-
Round 4:
-
Chain 2, hdc in the next 2 stitches, 2 hdc in the next stitch. Repeat around. (32 hdc total)
-
Join with a slip stitch.
-
Step 2: Continue for the Hat’s Body
-
Round 5:
-
Chain 2 (counts as first hdc), hdc in each stitch around (32 hdc total).
-
Join with a slip stitch.
-
-
Round 6:
-
Chain 2, hdc in the next 3 stitches, 2 hdc in the next stitch. Repeat around. (40 hdc total)
-
Join with a slip stitch.
-
-
Round 7 and onwards:
-
Continue adding rounds of hdc stitches in each stitch around, working in a spiral, until the desired height for the baby’s head is reached. For a typical baby bucket hat, you’ll need about 6 more rounds (or 10 total rounds), depending on how deep you want the hat.
-
Step 3: Crochet the Brim
-
Switch to the Brim Color (optional):
-
Chain 1 and work 1 sc (single crochet) in each stitch around the edge of the hat.
-
-
Round 1 (Brim):
-
Work 1 sc in each stitch around. (40 sc total)
-
Join with a slip stitch.
-
-
Round 2 (Brim):
-
Work 1 sc in each stitch around.
-
Fasten off, leaving a long tail for weaving in.
-
Step 4: Finishing the Hat
-
Weave in Ends:
-
Use a yarn needle to weave in any loose ends and trim any excess yarn.
-
-
Optional Decoration:
-
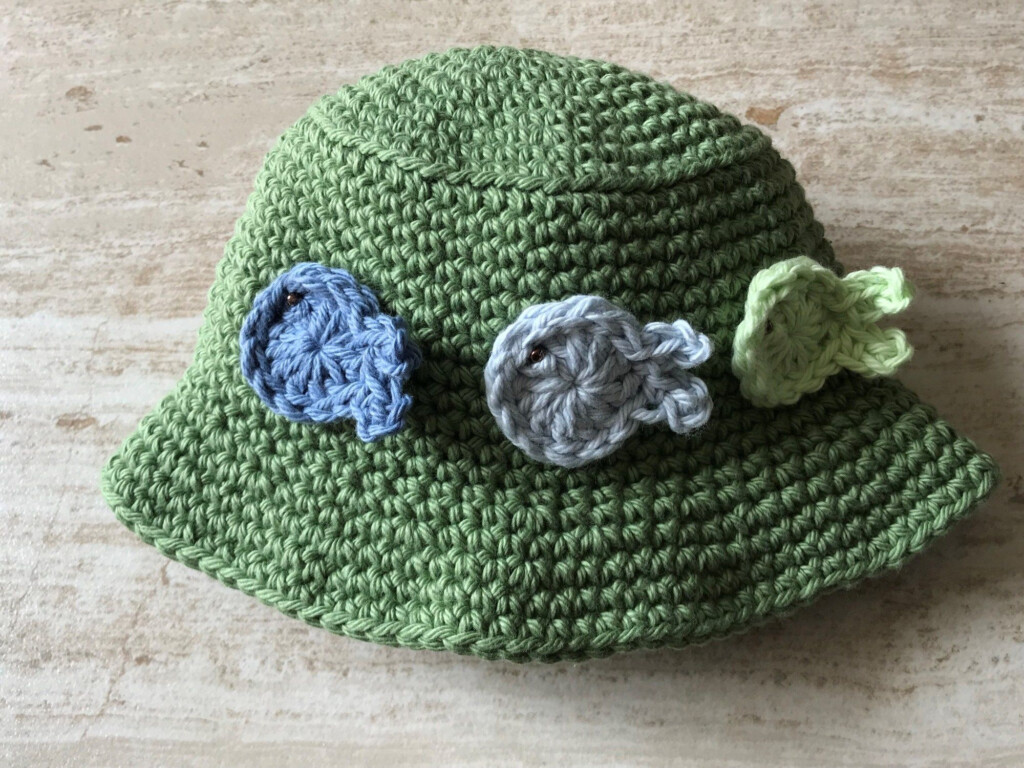
Add a cute decoration like a bow, button, or small flower on the side of the hat to give it a little extra charm.
-
Final Thoughts
This Crochet Baby Bucket Hat is a simple yet stylish addition to any little one’s wardrobe. You can customize it with any colors, patterns, and embellishments you like to make it uniquely theirs. This hat is lightweight, comfortable, and perfect for protecting your baby from the sun in the warmer months.
Enjoy making this sweet crochet hat, and happy crocheting!
Download Crochet Baby Bucket Hat Pattern Free
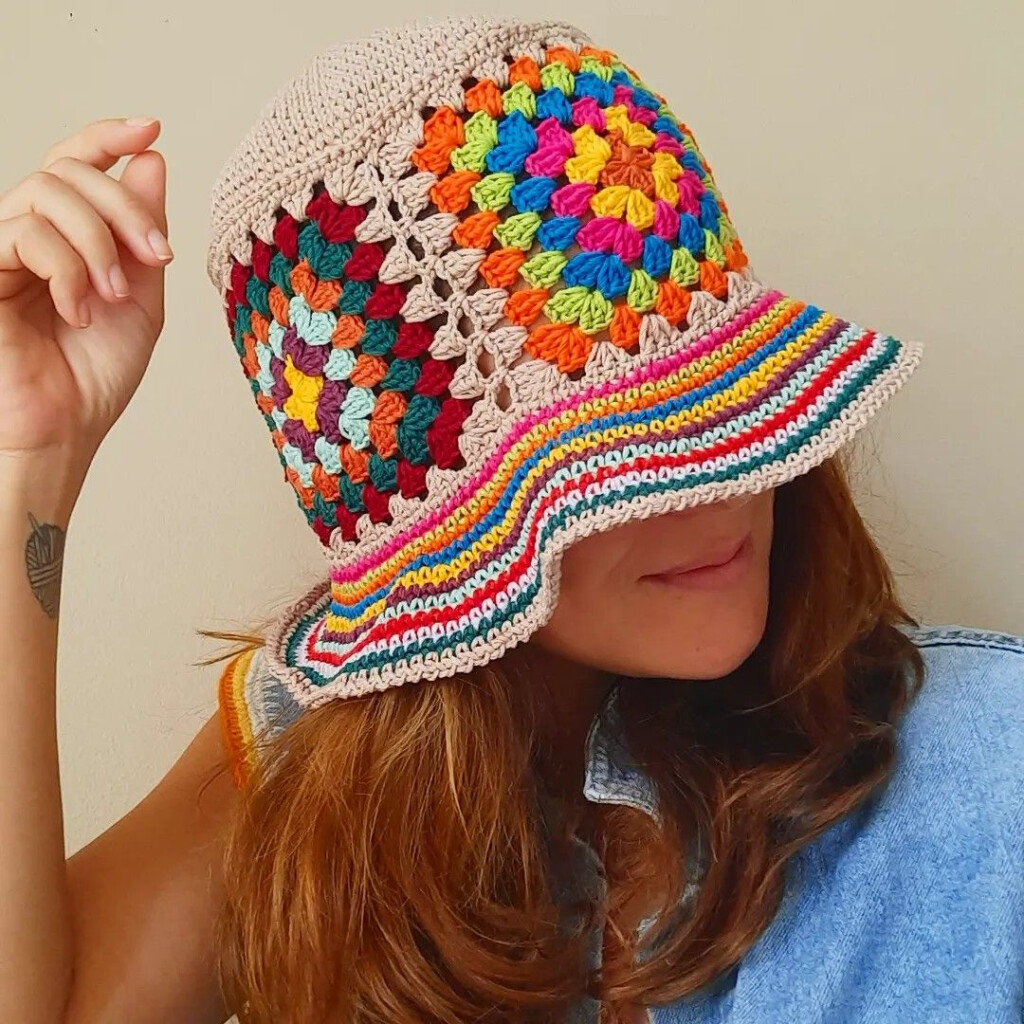
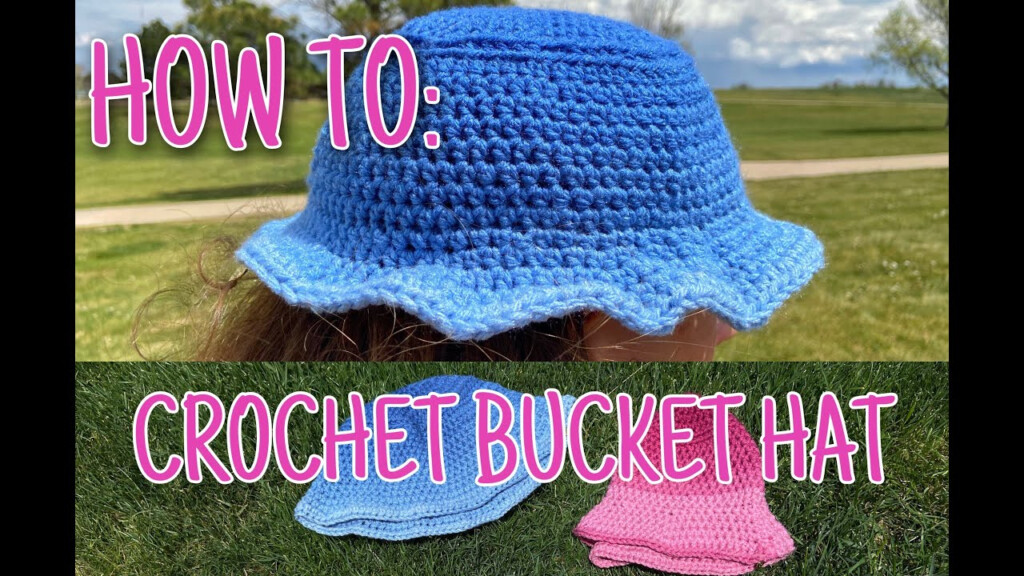
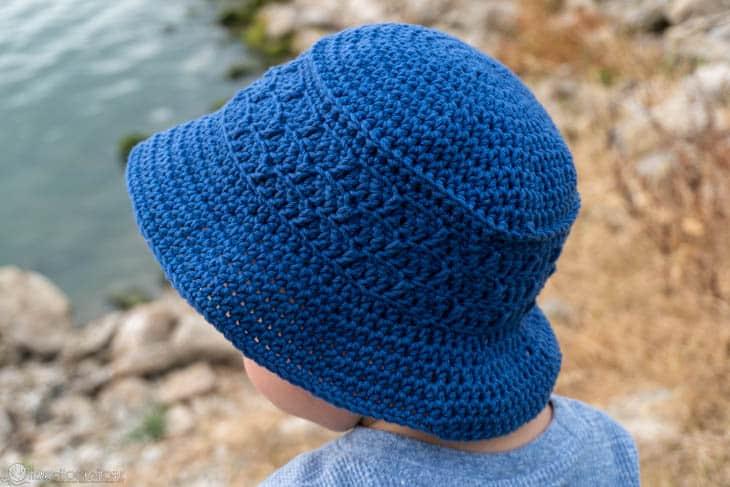
To get Crochet Baby Bucket Hat Pattern Free ideas and stuff, check out the gallery of them below: