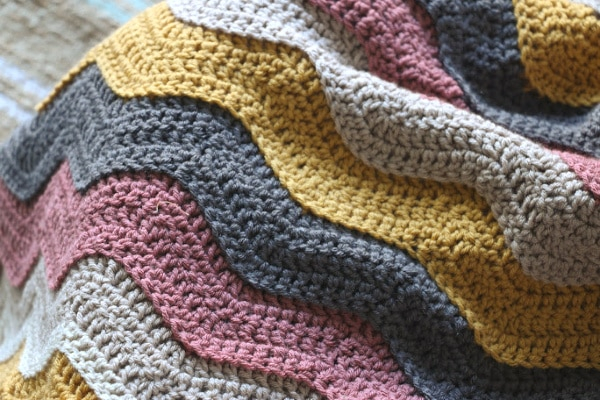
Simple Crochet Ripple Blanket Free Pattern – Here’s a Simple Crochet Ripple Blanket pattern that’s easy to follow and great for beginners! Ripple blankets create a beautiful wave effect and are perfect for adding texture and warmth to any room. This pattern uses basic stitches and is perfect for those just starting to crochet.
🌊 Simple Crochet Ripple Blanket Pattern (Free)
Materials:
-
Yarn:
-
Main Color: Approximately 800-1200 yards (depending on the size of the blanket)
-
Accent Colors (optional for the ripples): Small amounts of various colors (e.g., 2-3 colors)
-
-
Crochet Hook: Size H-8 (5mm) or recommended hook size for your yarn
-
Yarn Needle: For weaving in ends
-
Scissors
Abbreviations:
-
ch: Chain
-
sc: Single crochet
-
dc: Double crochet
-
tr: Treble crochet
-
st(s): Stitch(es)
Instructions:
Step 1: Foundation Chain
-
Starting Chain: To begin, you will create a foundation chain that’s a multiple of 14 plus 3. For example, for a baby blanket, chain 111 (which is 14 x 7 + 3). For a larger blanket, you can increase the foundation chain by repeating the 14-chain segments.
-
First Row: After completing your foundation chain, work into the 4th chain from the hook with a double crochet (dc). Then, work a dc in each of the next 3 chains. You should have 4 double crochets in total.
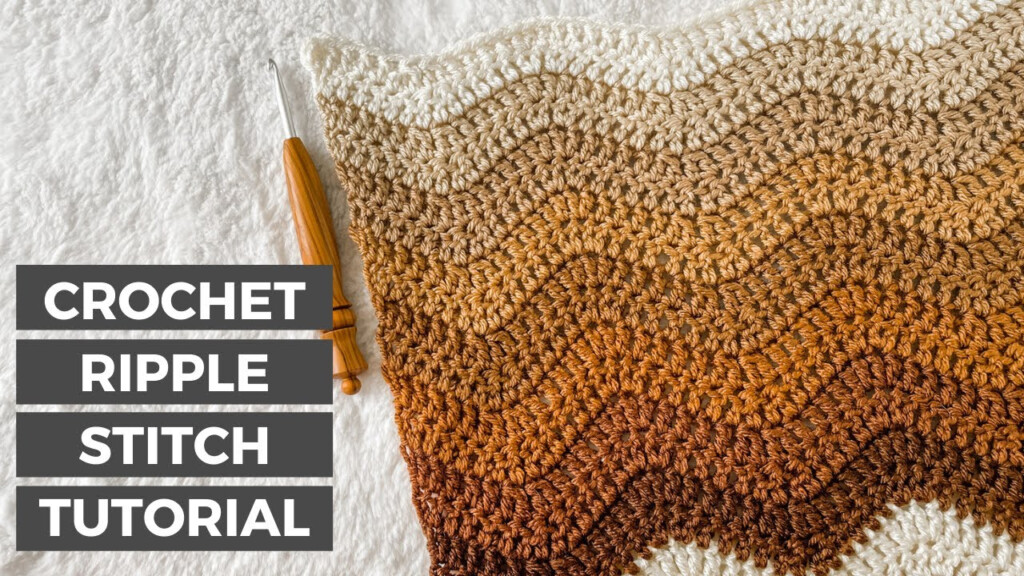
Step 2: The Ripple Pattern
-
Increasing:
-
Next Ripple: Work 5 dc into the next stitch. This creates the peak of the ripple.
-
-
Decreasing:
-
Next Decrease: Skip the next 2 stitches and work 1 dc into the following stitch.
-
Continue to work 1 dc in the next 2 stitches (or the next 3 depending on the number of increases).
-
-
Repeat the Ripple: Alternate between the 5 dc in the peak and the decrease in between. You’ll repeat this pattern across the row.
-
Ending the Row: Finish off the row by working 3 dc into the last stitch.
Step 3: Continuing the Ripple Rows
-
Turning Chain: When you get to the end of the row, turn the blanket around and ch 3 to start the next row (this is your turning chain for height).
-
Work the Ripples: For the following rows, repeat the ripple pattern from the previous row. Make sure to start each new row with 3 dc, then follow the ripple pattern with increases and decreases.
-
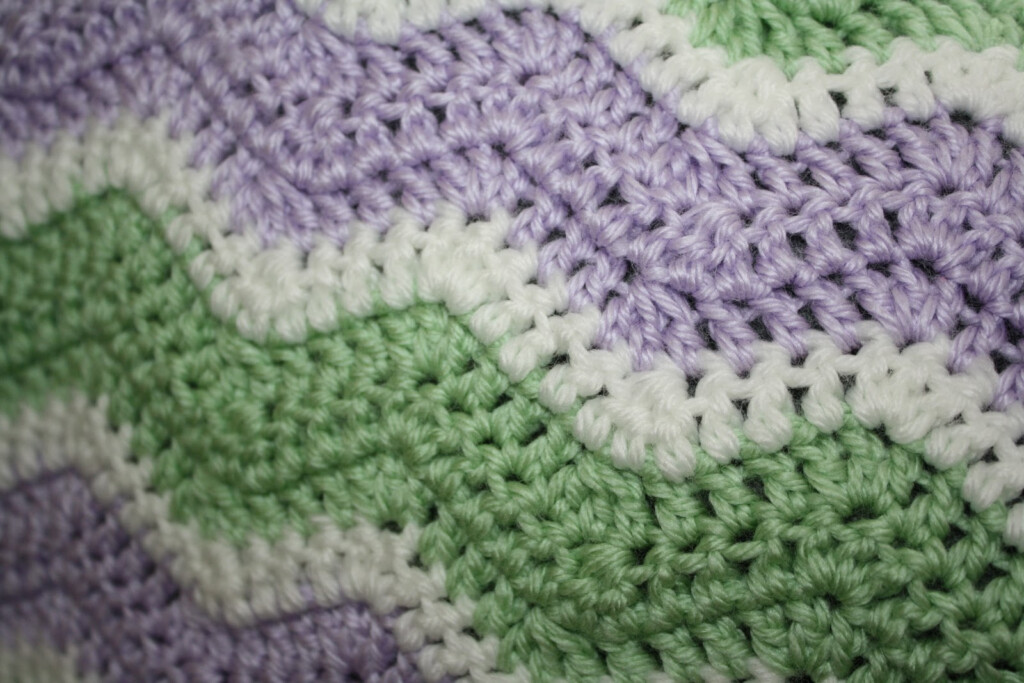
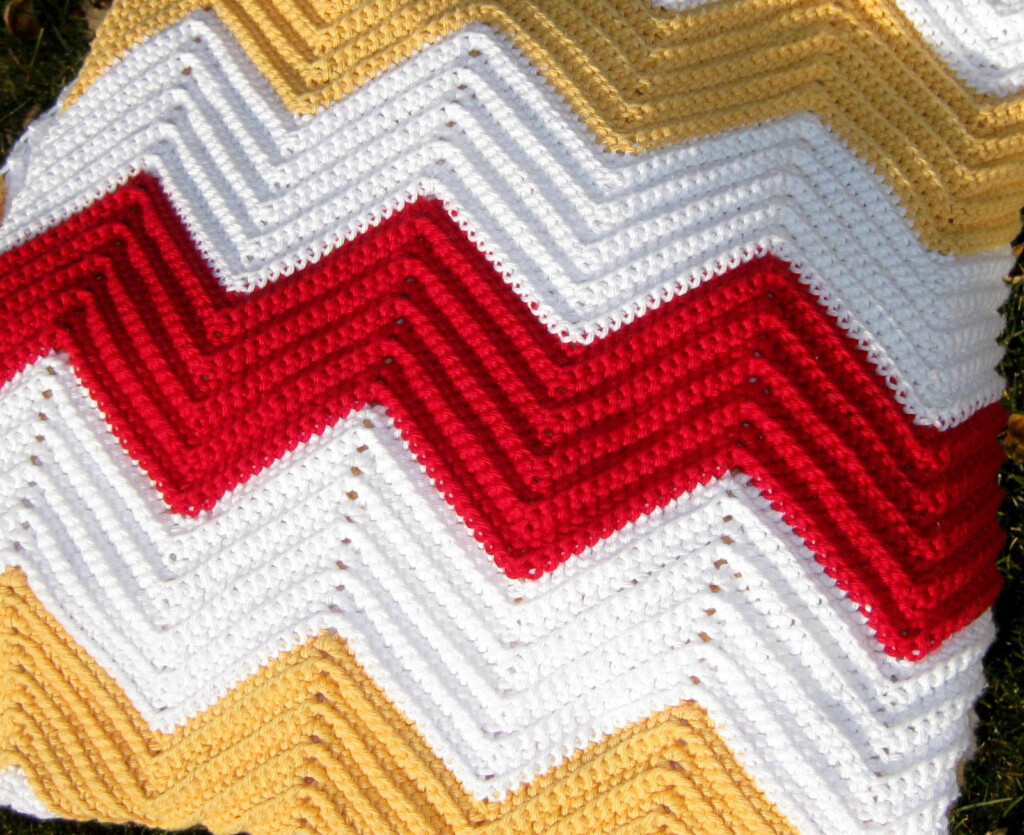
Color Changes (Optional): You can switch colors between rows to create stripes or a more colorful design. Simply change yarn at the beginning of the row and continue the ripple pattern with the new color.
Step 4: Finishing the Blanket
-
End the Blanket: Continue working in ripples until the blanket reaches your desired length. For a throw blanket, you may need about 60-80 rows, depending on your yarn and hook size.
-
Border: Once you’ve reached your desired size, add a simple border around the edges:
-
Work a sc stitch in each stitch around the entire blanket.
-
Work 3 sc into each corner to keep the blanket’s edges smooth.
-
-
Fasten Off: Once the border is complete, fasten off and weave in all loose ends.
Tips:
-
Consistency: Try to keep your tension even to ensure the ripples maintain their shape throughout the blanket.
-
Yarn Choices: Choose yarns that are soft and durable, such as worsted weight for comfort and warmth.
-
Customization: Add more colors or use variegated yarn to make the ripples stand out even more. You can also adjust the size by adding or subtracting stitches from your foundation chain.
🌟 Final Thoughts:
This Simple Crochet Ripple Blanket is not only beautiful but also very customizable. The ripple design creates a cozy, textured feel that’s perfect for any living space. Whether you’re making it for yourself, a gift, or for a nursery, this pattern is a wonderful and fun project for crochet enthusiasts of all skill levels!
Happy crocheting! 🧶🌊
Download Simple Crochet Ripple Blanket Free Pattern
To get Simple Crochet Ripple Blanket Free Pattern ideas and stuff, check out the gallery of them below: